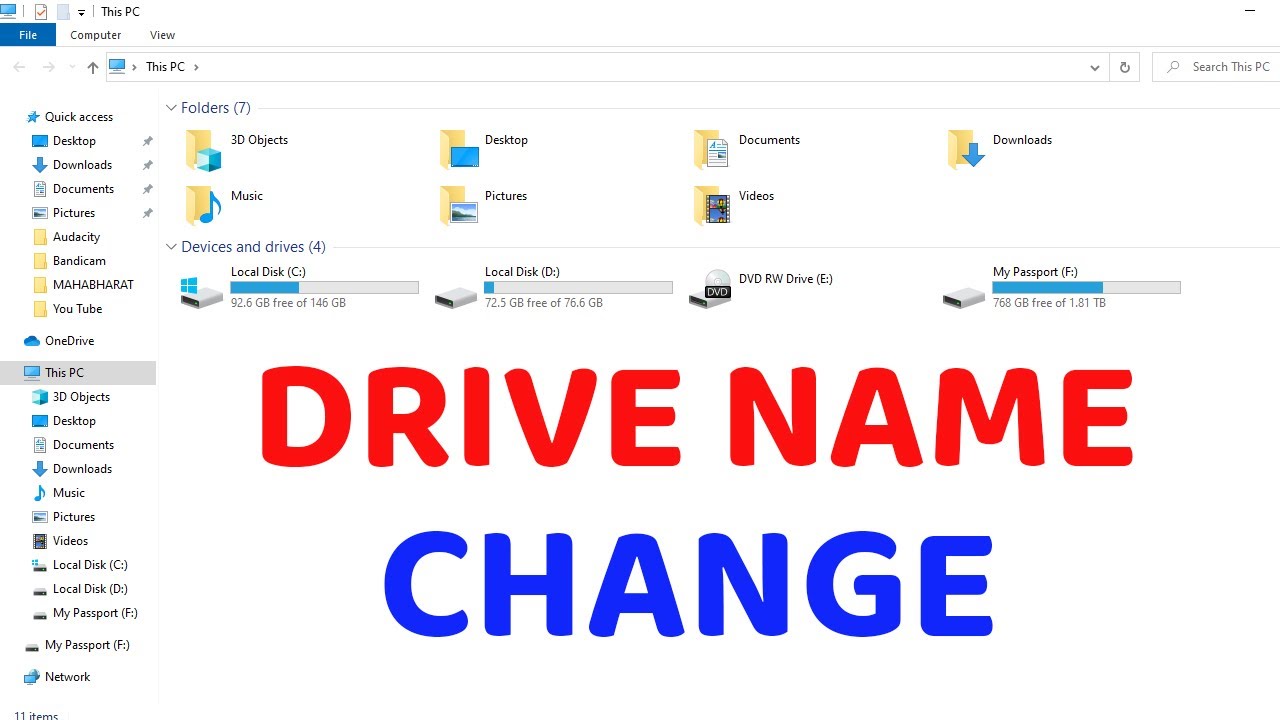
How to Change Disk Drive Letter in Windows


Why Change Disk Drive Letter?
Have you ever encountered a situation where you need to change the disk drive letter in your Windows system? Maybe you've added a new hard drive or partition and want to assign a specific drive letter to it. Whatever the reason, changing the disk drive letter is a relatively simple process that can be done using the built-in Disk Management tool in Windows.
The disk drive letter is used to identify and access a disk partition in Windows. By default, Windows assigns a drive letter to each disk partition, starting from C:. However, you can change the drive letter if you need to. For example, if you have a secondary hard drive and want to assign it a specific drive letter, you can do so using the Disk Management tool.
Step-by-Step Guide to Change Disk Drive Letter
Why Change Disk Drive Letter? Changing the disk drive letter can be useful in various situations. For instance, if you have a program that requires a specific drive letter to function properly, you can change the drive letter to meet the program's requirements. Additionally, changing the drive letter can help you organize your disk partitions and make it easier to identify and access specific drives.
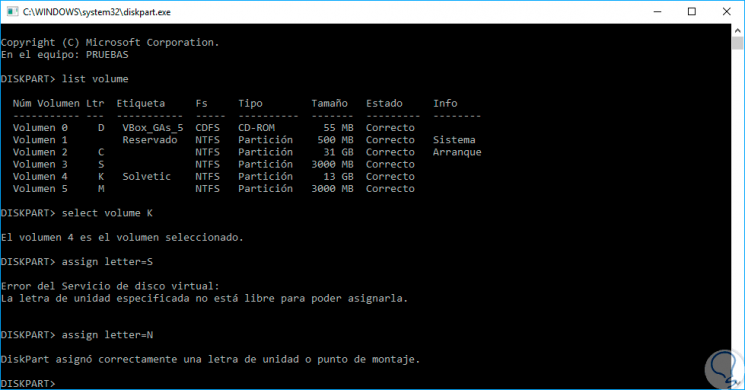
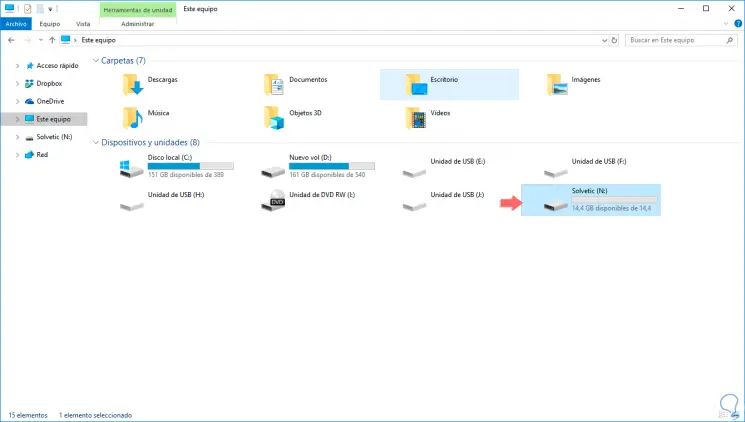
Step-by-Step Guide to Change Disk Drive Letter To change the disk drive letter, follow these simple steps: open the Disk Management tool, select the disk partition you want to change, right-click on it and select 'Change Drive Letter and Paths', click 'Change' and select the new drive letter from the drop-down menu. Once you've completed these steps, the disk drive letter will be changed, and you can access the disk partition using the new drive letter.