
How to Create a Pie Chart in Tableau: A Step-by-Step Guide

Getting Started with Pie Charts in Tableau
Creating a pie chart in Tableau is a great way to visualize your data and communicate insights to your audience. With its intuitive interface and powerful data analysis capabilities, Tableau makes it easy to create interactive and dynamic pie charts. In this article, we'll walk you through the steps to create a pie chart in Tableau, from connecting to your data source to customizing the visualization.
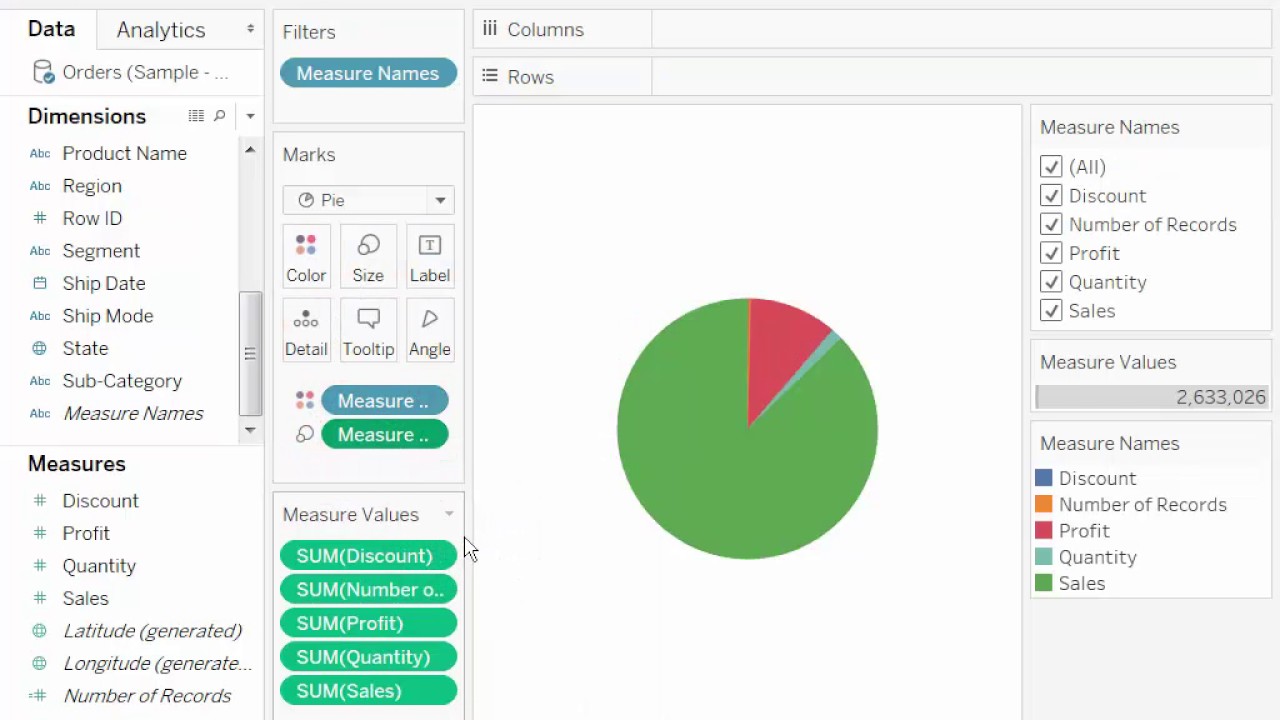
To get started, connect to your data source in Tableau. This can be a spreadsheet, database, or cloud-based data warehouse. Once connected, select the dimension and measure you want to use for your pie chart. The dimension will determine the slices of the pie, while the measure will determine the size of each slice. For example, if you're analyzing sales data, you might use the product category as the dimension and the sales amount as the measure.
Customizing Your Pie Chart for Effective Data Visualization
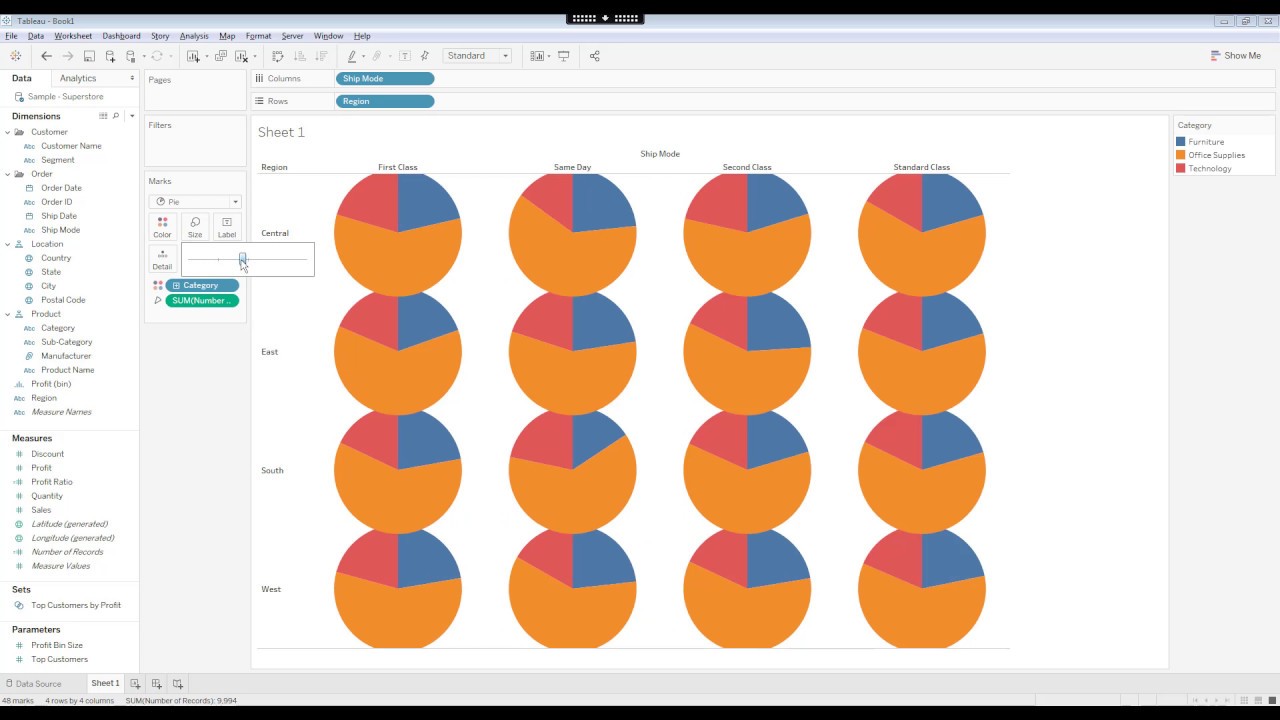
Now that you have your data connected and selected, it's time to create the pie chart. Drag the dimension to the Columns shelf and the measure to the Rows shelf. Then, click on the Show Me button and select the pie chart option. Tableau will automatically create a pie chart based on your data. You can then customize the chart by adding colors, labels, and other annotations.
Finally, to make your pie chart more effective, consider customizing it to better communicate your insights. You can do this by adding filters, using different colors and fonts, and adjusting the size and position of the chart. With Tableau's interactive interface, you can easily experiment with different customizations and see the results in real-time. By following these steps and tips, you can create a pie chart in Tableau that effectively communicates your data insights and engages your audience.