
A Beginner's Guide to Cricut Printable Heat Transfer: How To

Getting Started with Cricut Printable Heat Transfer
Cricut printable heat transfer is a game-changer for anyone who loves to create custom designs on fabric. With the Cricut machine and some basic supplies, you can make your own custom t-shirts, hoodies, and more. In this article, we'll walk you through the basics of Cricut printable heat transfer and provide a step-by-step guide on how to get started.
To begin, you'll need a few basic supplies, including a Cricut machine, Cricut printable heat transfer material, a weeding tool, and a heat press. You'll also need a design or image to transfer onto your fabric. You can use the Cricut Design Space software to create your own designs or use pre-made templates. Once you have your design, you can cut it out using the Cricut machine and weed away any excess material.
Tips and Tricks for Perfect Heat Transfer
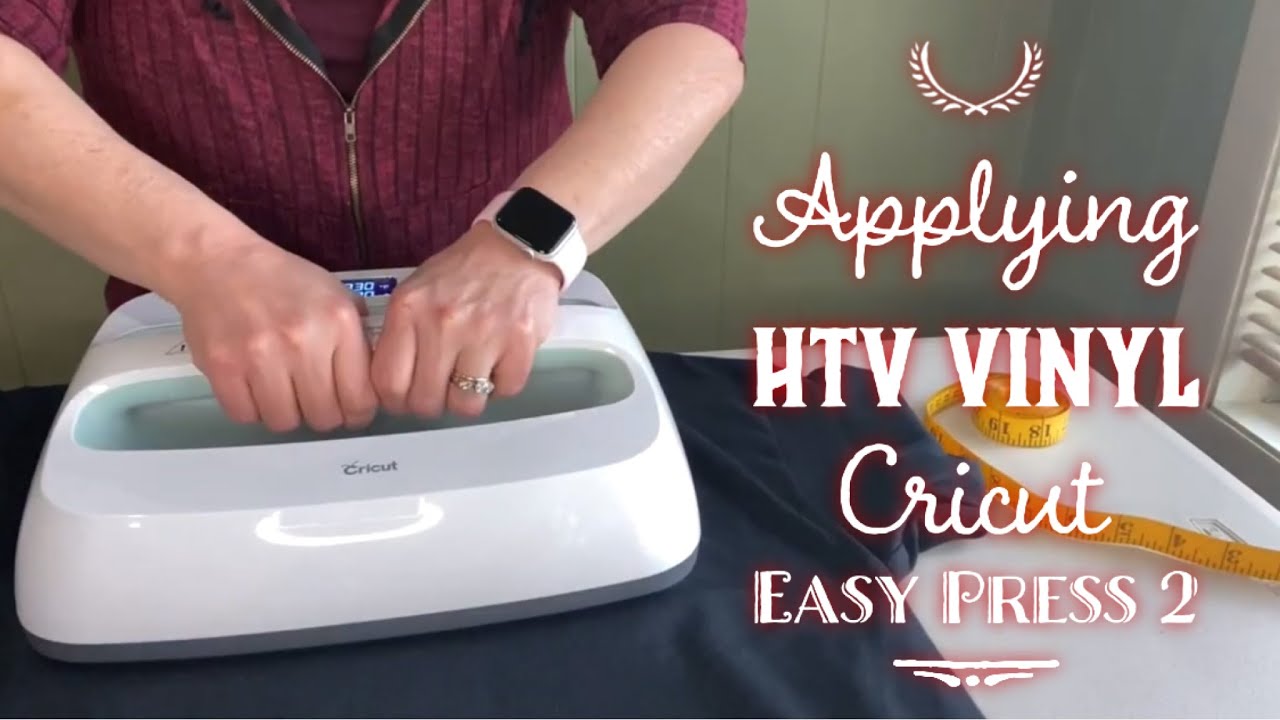
Now that you have your design cut out, it's time to apply the heat transfer. Place the design onto your fabric, making sure it's centered and smooth out any wrinkles. Then, place the fabric into the heat press and set the temperature and time according to the manufacturer's instructions. Once the heat transfer is complete, allow the fabric to cool before handling. It's that easy! With a little practice, you can create professional-looking custom designs on fabric using Cricut printable heat transfer.
To get the best results with Cricut printable heat transfer, make sure to follow a few basic tips and tricks. First, always use a high-quality heat press to ensure even heat distribution. Second, make sure to mirror your design before cutting it out, as this will ensure that the design is applied correctly to the fabric. Finally, always follow the manufacturer's instructions for the heat transfer material and heat press to ensure the best results. With these tips and a little practice, you'll be creating custom designs like a pro in no time.