Mastering Excel Print Area: A Guide to Printing Your Spreadsheets

Understanding the Print Area
When working with large spreadsheets in Excel, it can be frustrating to try and print out only the specific data you need. This is where the Excel print area comes in - a feature that allows you to specify exactly which cells and ranges you want to print. By setting the print area, you can avoid printing unnecessary data and make it easier to share your spreadsheets with others.
The print area is a powerful tool that can save you time and hassle when printing your spreadsheets. By default, Excel will print the entire worksheet, but by setting the print area, you can limit the printout to only the cells and ranges that are relevant to your needs. This is especially useful when working with large datasets or complex spreadsheets.
Setting and Managing the Print Area
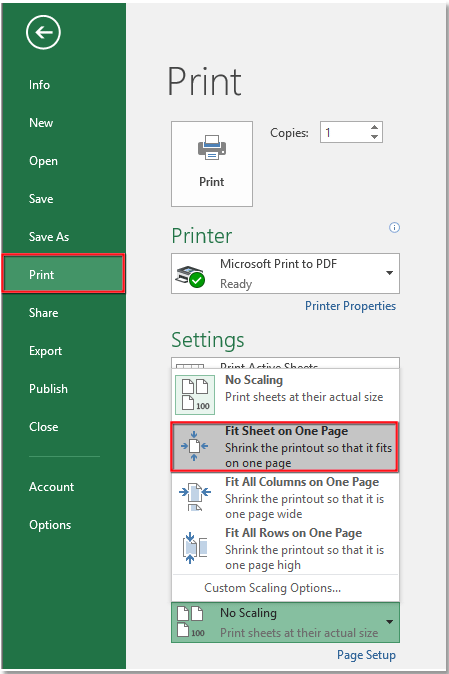
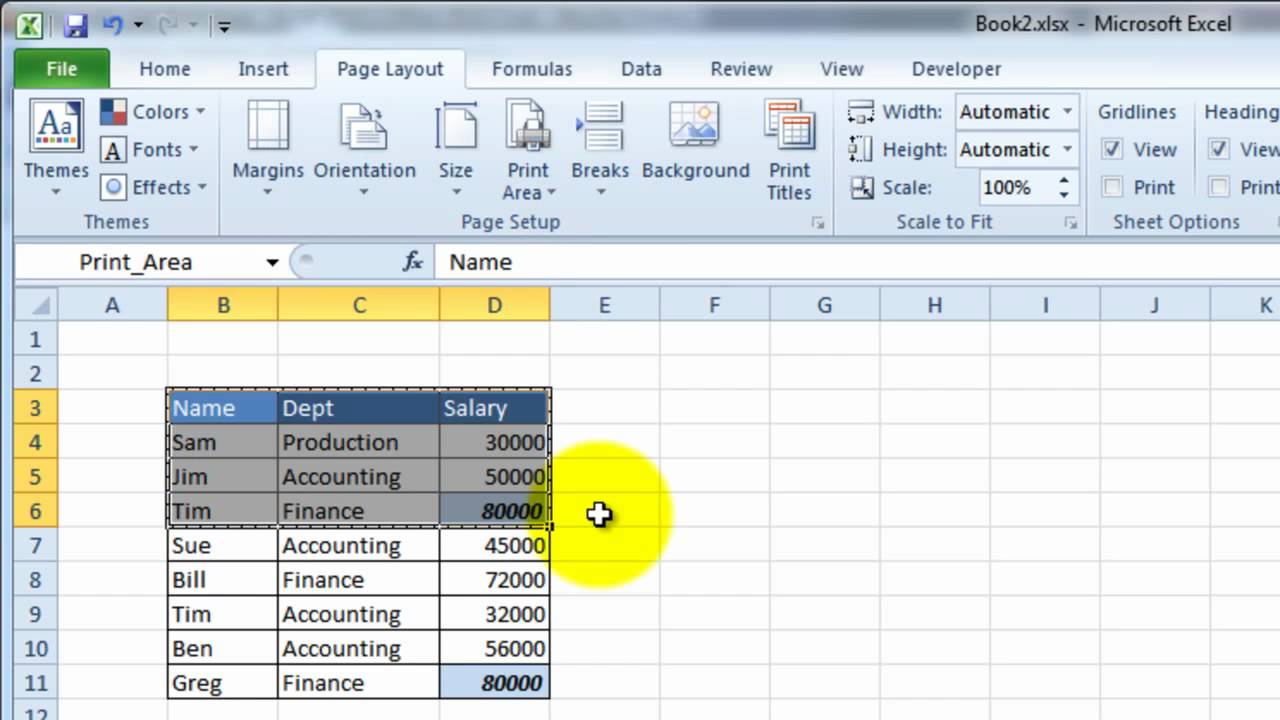
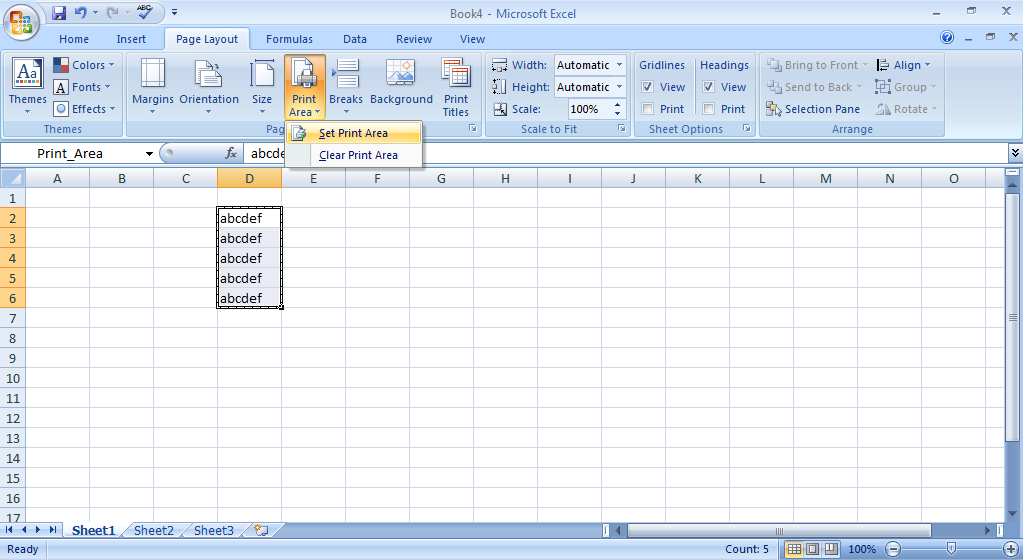
To set the print area, simply select the cells and ranges you want to print, go to the Page Layout tab, and click on the Print Area button. From here, you can choose to set the print area to the selected cells, or to clear the print area and start again. You can also use the Print Preview feature to see how your spreadsheet will look when printed, and make any necessary adjustments to the print area before printing.
In addition to setting the print area, you can also manage it by using the Print Area options in the Page Layout tab. From here, you can add or remove cells and ranges from the print area, and even set multiple print areas for different parts of your spreadsheet. By mastering the print area, you can take control of your spreadsheet printing and make it easier to share your data with others. Whether you're a student, business professional, or simply a hobbyist, learning how to use the print area in Excel can help you to work more efficiently and effectively.