Mastering Expressions Vinyl Printable Vinyl Cut Settings for Perfect Results
Understanding the Basics of Cut Settings
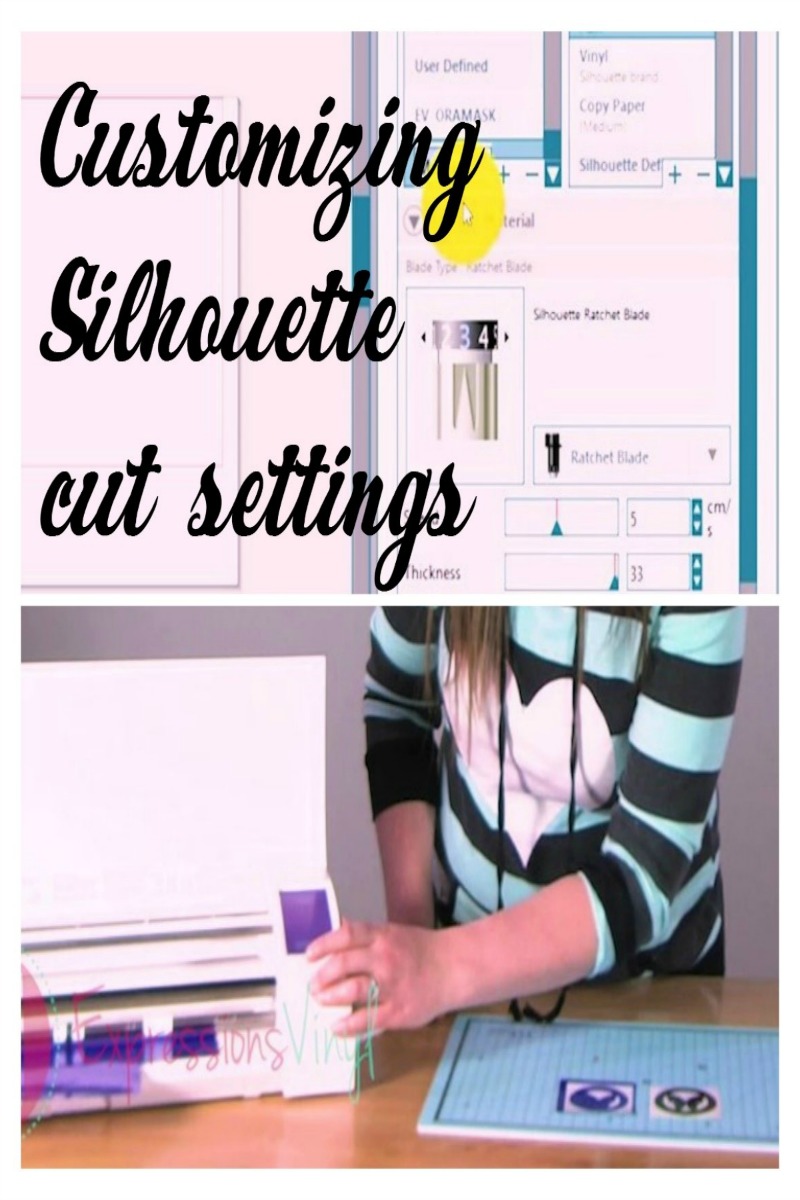
When working with Expressions Vinyl printable vinyl, getting the cut settings right is crucial for achieving professional-looking results. The cut settings you use can make all the difference between a flawless design and a messy, uneven cut. In this article, we'll explore the ideal cut settings for Expressions Vinyl printable vinyl and provide you with tips on how to optimize your cutter for perfect results.
The type of cutter you use, the thickness of the vinyl, and the design you're cutting all play a role in determining the optimal cut settings. For example, if you're using a intricate design with many small details, you may need to adjust the cut settings to ensure that the cutter can accurately capture the fine details. On the other hand, if you're cutting a simple design with bold lines, you may be able to use a more aggressive cut setting to speed up the cutting process.
Optimizing Cut Settings for Expressions Vinyl
To optimize your cut settings for Expressions Vinyl, you need to understand the basics of how your cutter works. Most cutters have three main settings: blade depth, pressure, and speed. The blade depth setting determines how far the blade extends from the holder, the pressure setting determines how much force the blade applies to the vinyl, and the speed setting determines how fast the blade moves. By adjusting these settings, you can fine-tune your cutter to achieve the perfect cut.
By following these tips and experimenting with different cut settings, you can achieve perfect results with your Expressions Vinyl printable vinyl. Remember to always refer to your cutter's user manual for specific guidance on adjusting cut settings, and don't be afraid to experiment and try new things. With a little practice and patience, you'll be creating professional-looking designs with ease.