
A Step-by-Step Guide to Applying Vinyl Decal Printables
Preparation is Key
Applying vinyl decal printables can be a fun and creative way to personalize your belongings, from water bottles to laptops. With the right tools and a bit of patience, you can achieve a professional-looking finish. In this article, we'll walk you through the steps to apply vinyl decal printables like a pro.
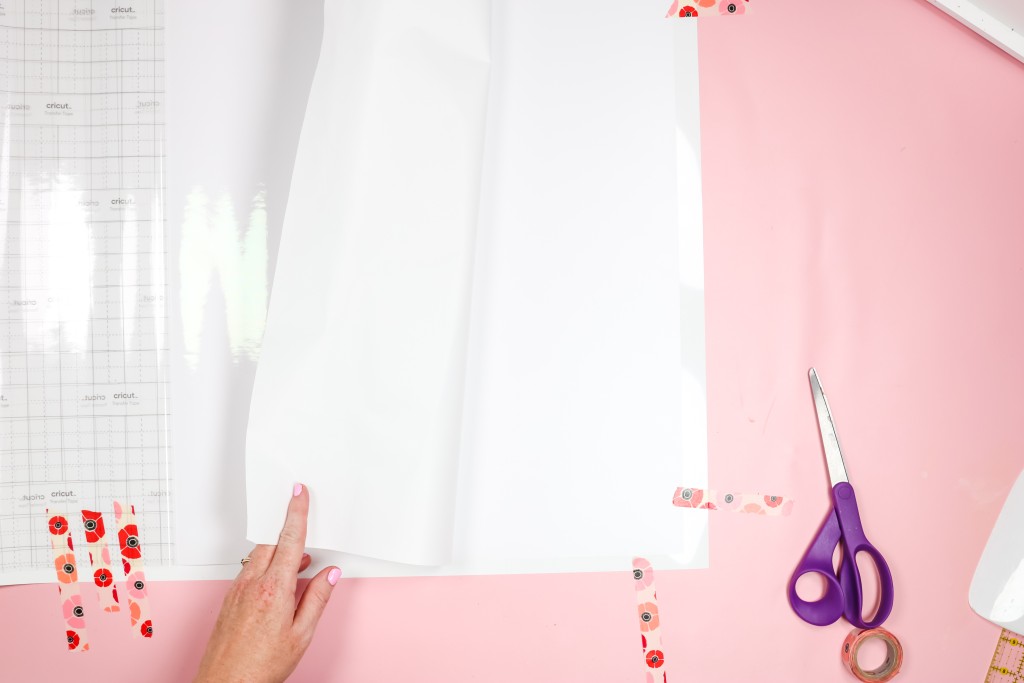
Before you start, make sure you have all the necessary tools and materials. You'll need the vinyl decal printable, a credit card or similar tool, a cutting mat or other protective surface, and a way to cut the decal, such as scissors or a craft knife. It's also a good idea to clean the surface where you'll be applying the decal to ensure it's free of dirt and oils.
Applying the Decal
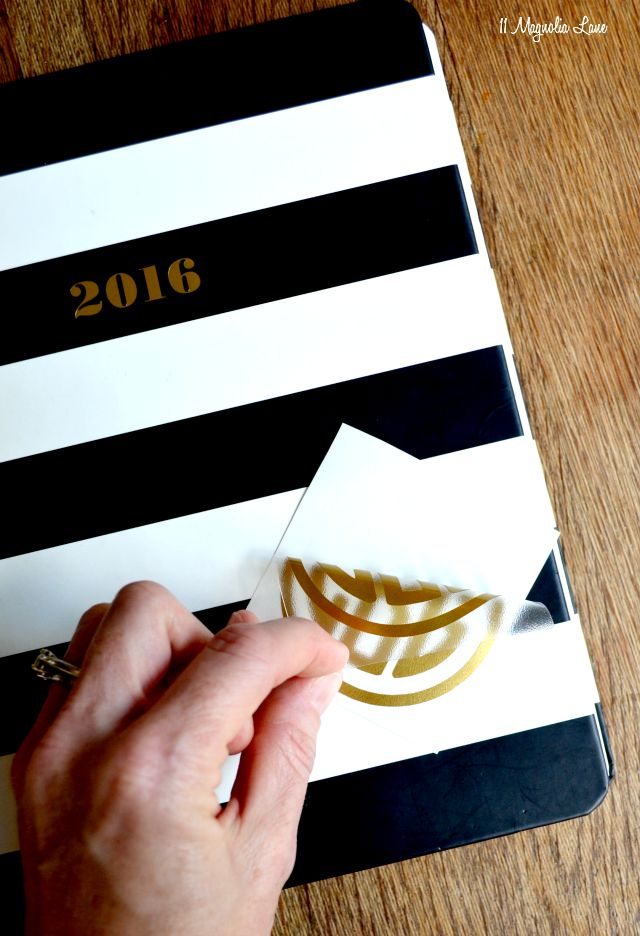
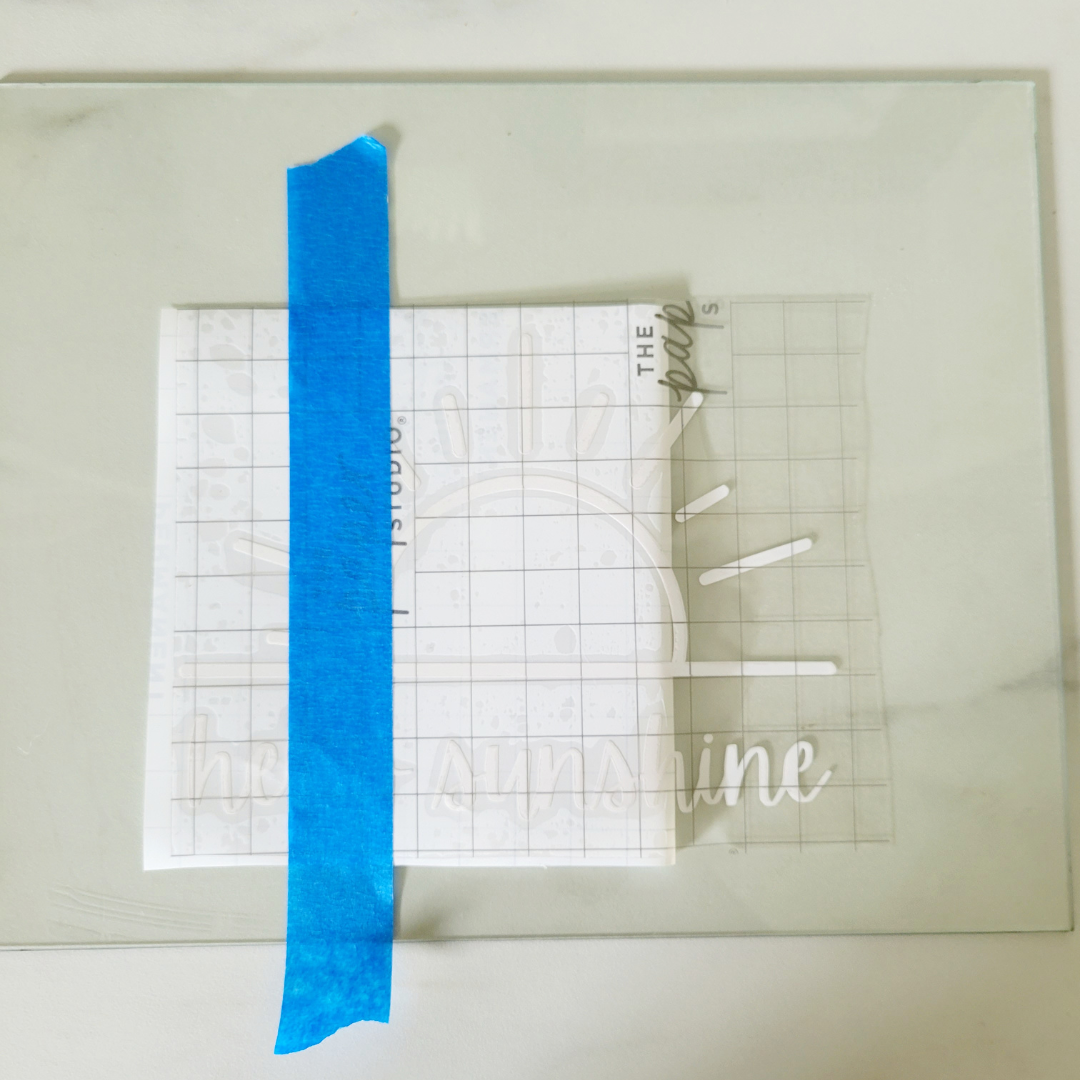
Preparation is Key When preparing to apply your vinyl decal printable, it's essential to make sure the surface is clean and dry. Any dirt, dust, or moisture can prevent the decal from adhering properly. Once the surface is prepared, you can cut the decal to the desired size and shape. Use a cutting mat or other protective surface to prevent damage to your work surface.
Applying the Decal To apply the decal, start by peeling off the backing paper and placing the decal on the surface. Use a credit card or similar tool to smooth out any air bubbles or wrinkles. Start in the center of the decal and work your way outwards, applying even pressure to ensure the decal adheres evenly. With a bit of practice, you'll be applying vinyl decal printables like a pro, and your belongings will have a unique and personalized touch.