How to Create a Calendar in Excel: A Step-by-Step Guide

Setting Up Your Calendar
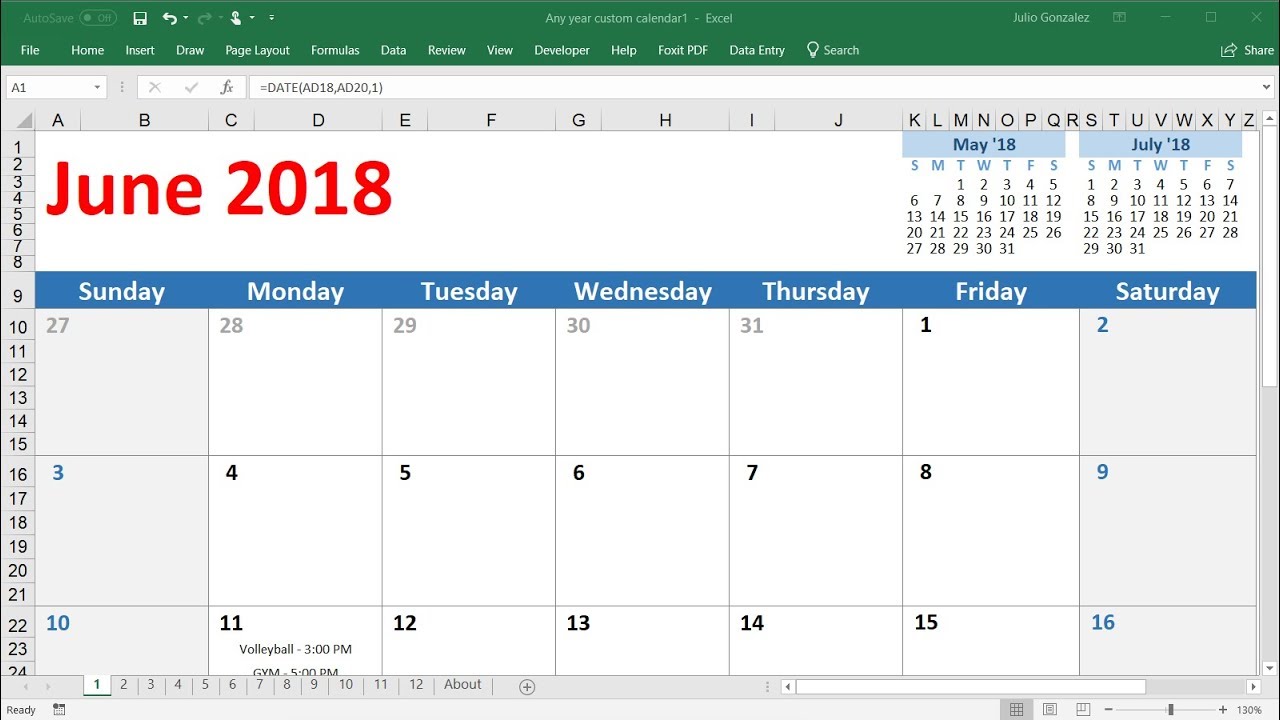
Creating a calendar in Excel can be a great way to stay organized and keep track of important dates. Whether you're looking to create a personal calendar or a shared calendar for your team, Excel provides a range of tools and features to help you get started. In this article, we'll take a look at how to create a calendar in Excel, from setting up the basic structure to customizing the layout and design.
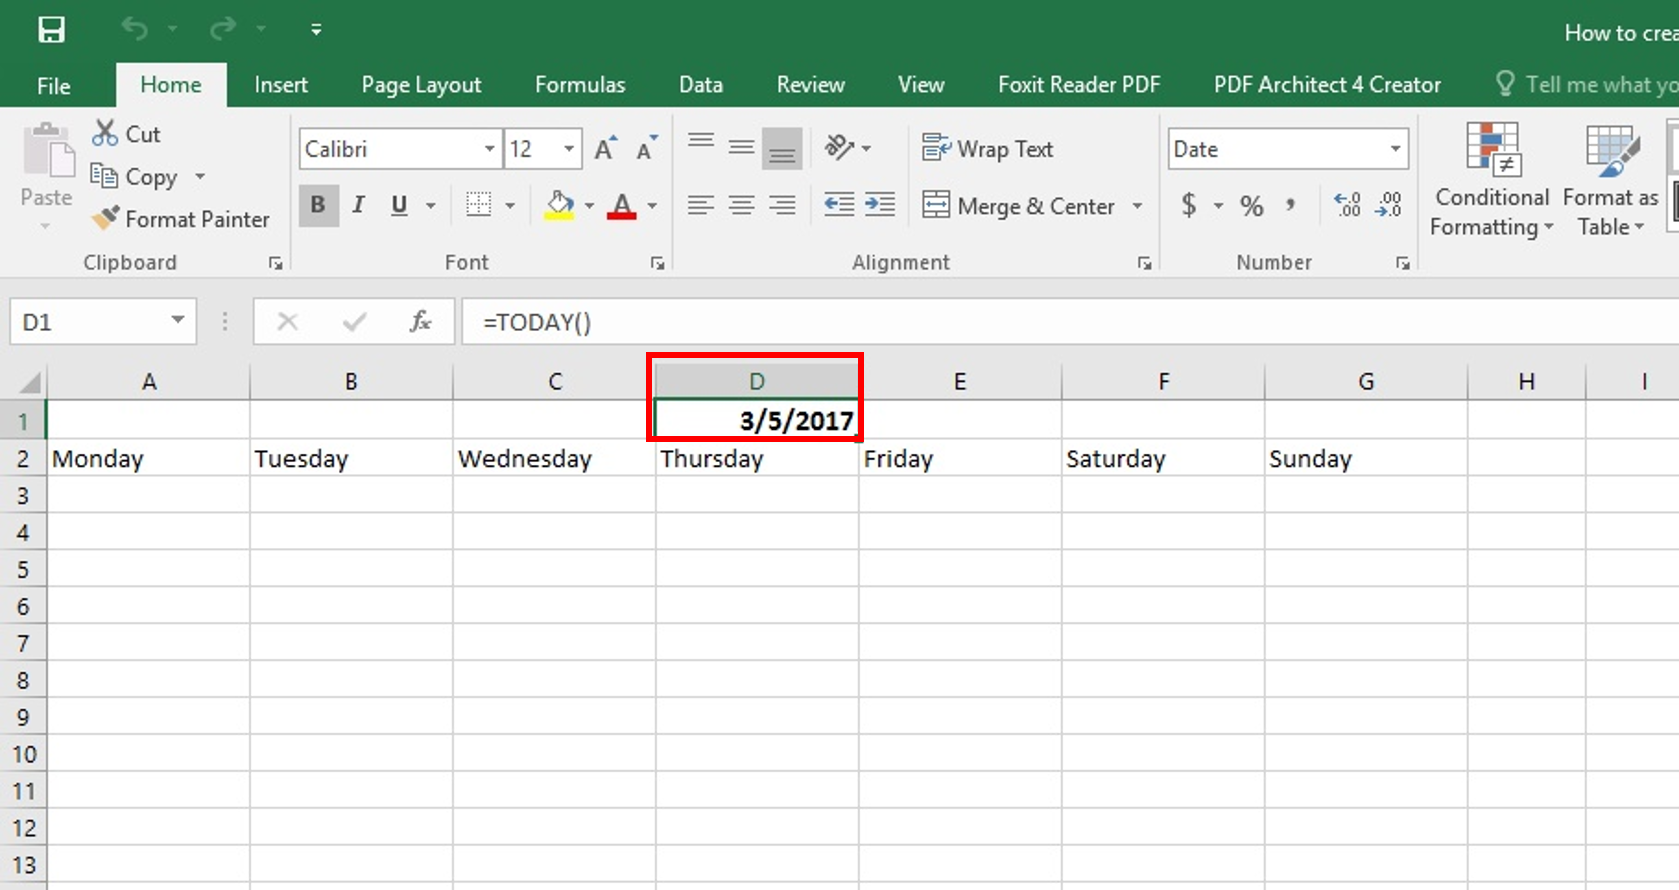
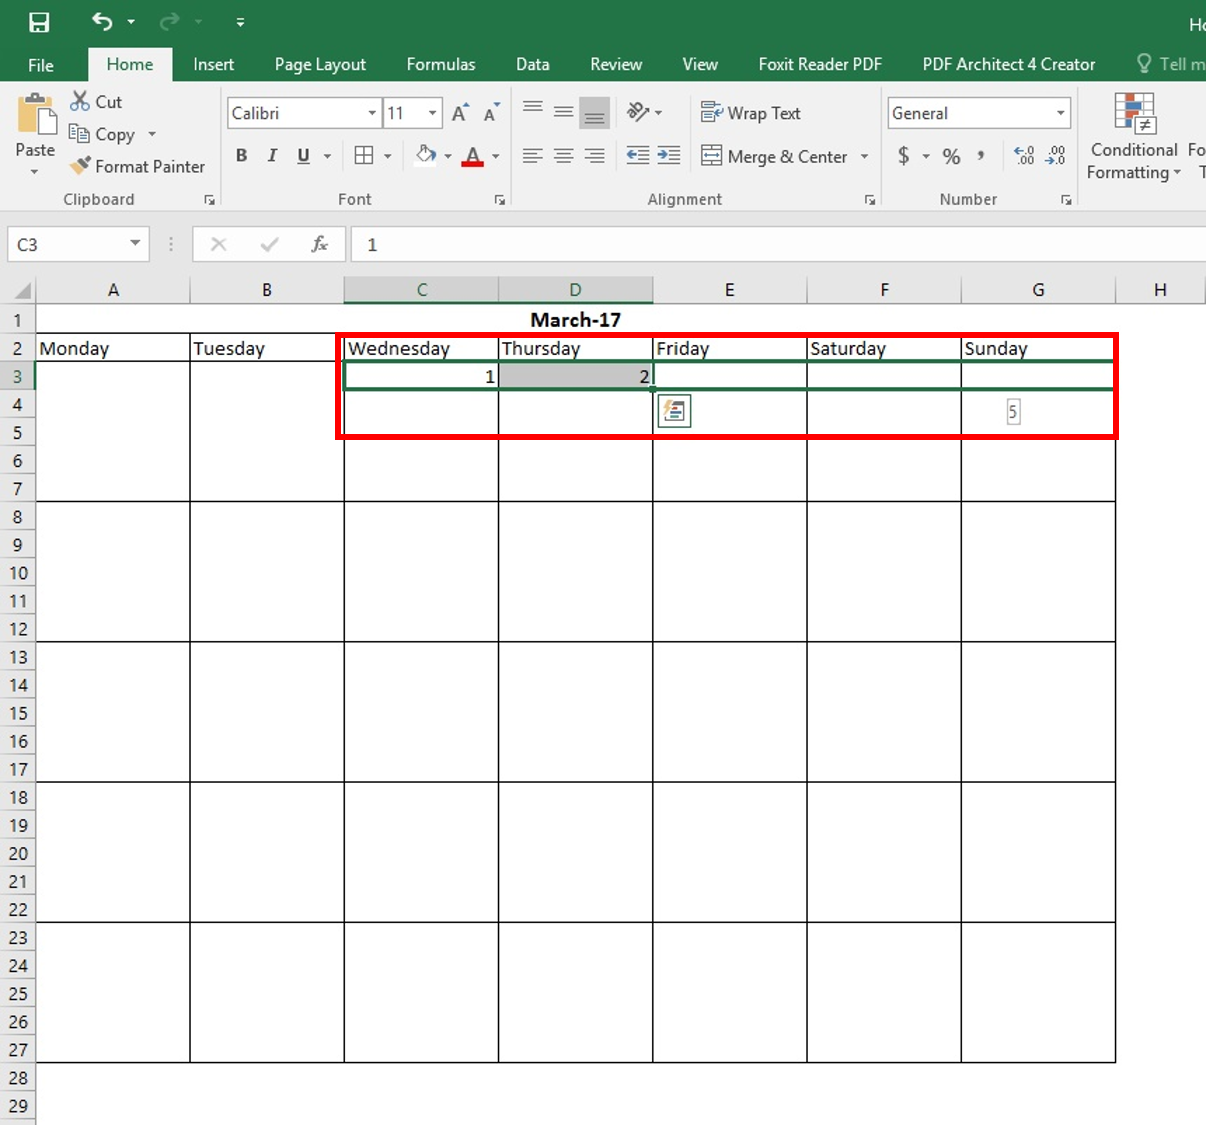
To get started, open a new Excel spreadsheet and set up a table with the days of the week across the top row and the dates down the left-hand column. You can use the AutoFill feature to quickly fill in the dates, or you can enter them manually. Once you have the basic structure in place, you can start to customize your calendar to suit your needs.
Customizing Your Calendar
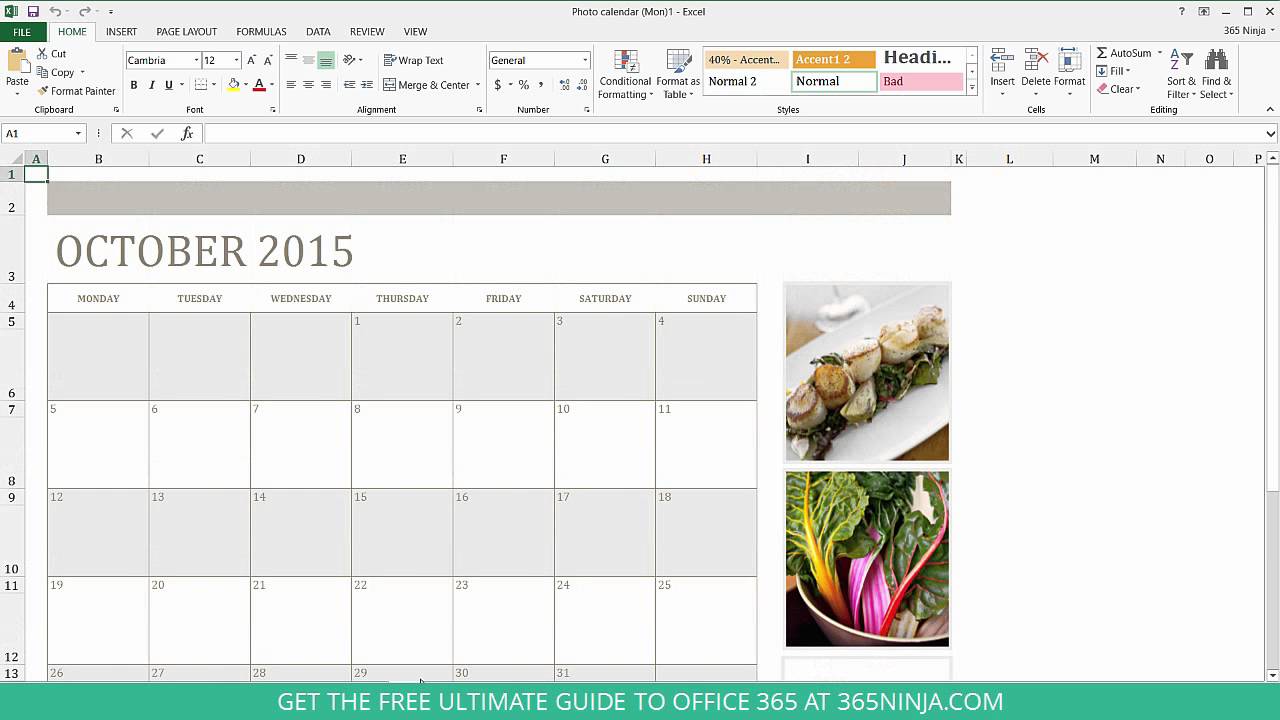
Next, you'll need to decide on the layout and design of your calendar. You can use Excel's built-in formatting tools to change the font, color, and layout of your calendar. You can also add headers, footers, and other elements to make your calendar more visually appealing. Additionally, you can use formulas and functions to automatically calculate dates and events, making it easy to stay on top of your schedule.
Finally, you can use Excel's range of add-ins and plugins to further customize your calendar. For example, you can use the 'Date' add-in to automatically generate a calendar for a specific month or year. You can also use the 'Conditional Formatting' feature to highlight important dates or events. With a little practice and patience, you can create a calendar in Excel that meets your needs and helps you stay organized and on track.