
How to Create a Calendar Invite in Outlook: A Step-by-Step Guide


Creating a New Calendar Invite
Creating a calendar invite in Outlook is a straightforward process that can help you schedule meetings and appointments with colleagues, friends, and family. With Outlook, you can send invitations to anyone with an email address, and they can easily accept or decline your invite. In this article, we'll walk you through the steps to create a calendar invite in Outlook, so you can start scheduling meetings like a pro.
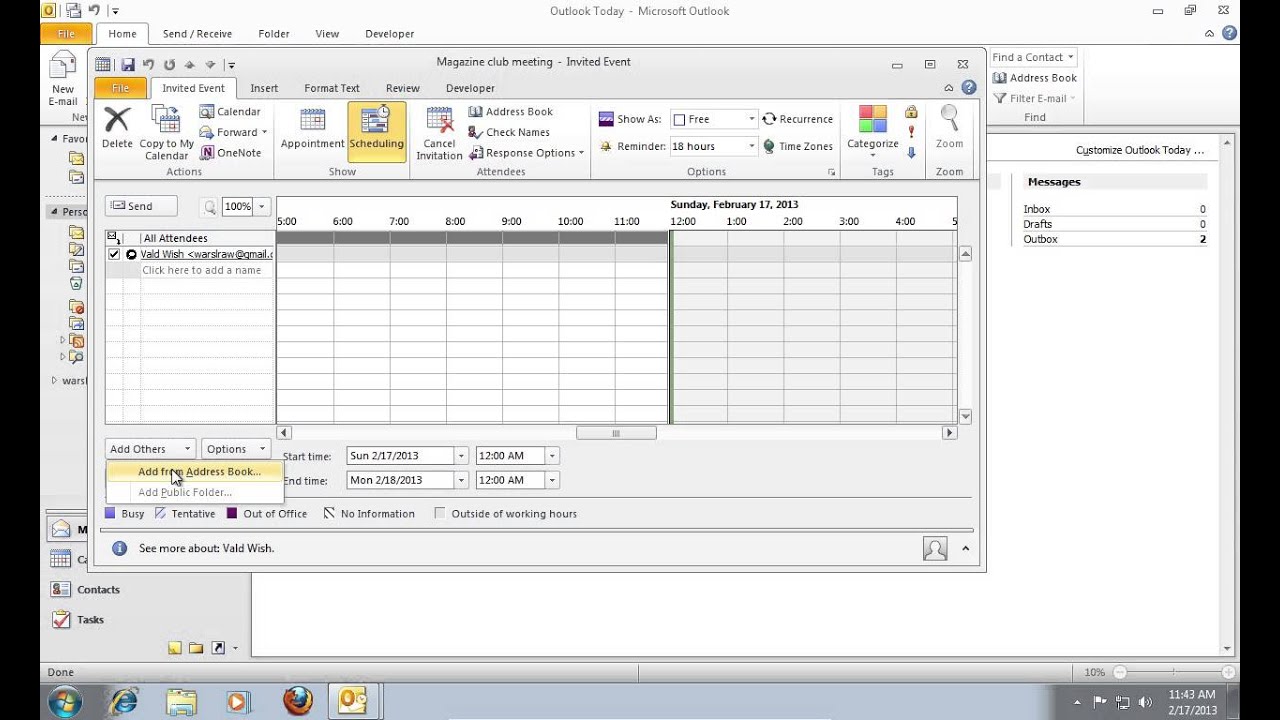
To create a new calendar invite, start by opening Outlook and clicking on the calendar icon in the navigation menu. Then, click on the 'New Meeting' button to open a new meeting invitation window. Here, you can enter the meeting subject, location, start and end times, and add attendees. You can also add a message to the invitation, such as a meeting agenda or any other relevant details.
Customizing Your Calendar Invite
Once you've entered all the meeting details, you can customize your calendar invite to fit your needs. You can set reminders, choose a meeting frequency, and even add a meeting password. You can also attach files to the invitation, such as a presentation or a document. When you're ready, click the 'Send' button to send the invitation to your attendees. They'll receive an email with all the meeting details, and they can easily accept or decline the invite.
With these simple steps, you can create a calendar invite in Outlook and start scheduling meetings with ease. Whether you're a business professional or just looking to stay organized, Outlook's calendar invite feature is a powerful tool that can help you manage your time and stay connected with others. So why not give it a try? Create a new calendar invite today and see how easy it is to schedule meetings and appointments with Outlook.