
How to Create a Calendar Template in Google Docs
Getting Started with Google Docs
Creating a calendar template in Google Docs is a straightforward process that can be completed in a few simple steps. To get started, open Google Docs and click on the 'Template gallery' button. From there, you can browse through the various templates available, including calendar templates. However, if you want to create a custom calendar template, you can start with a blank document.
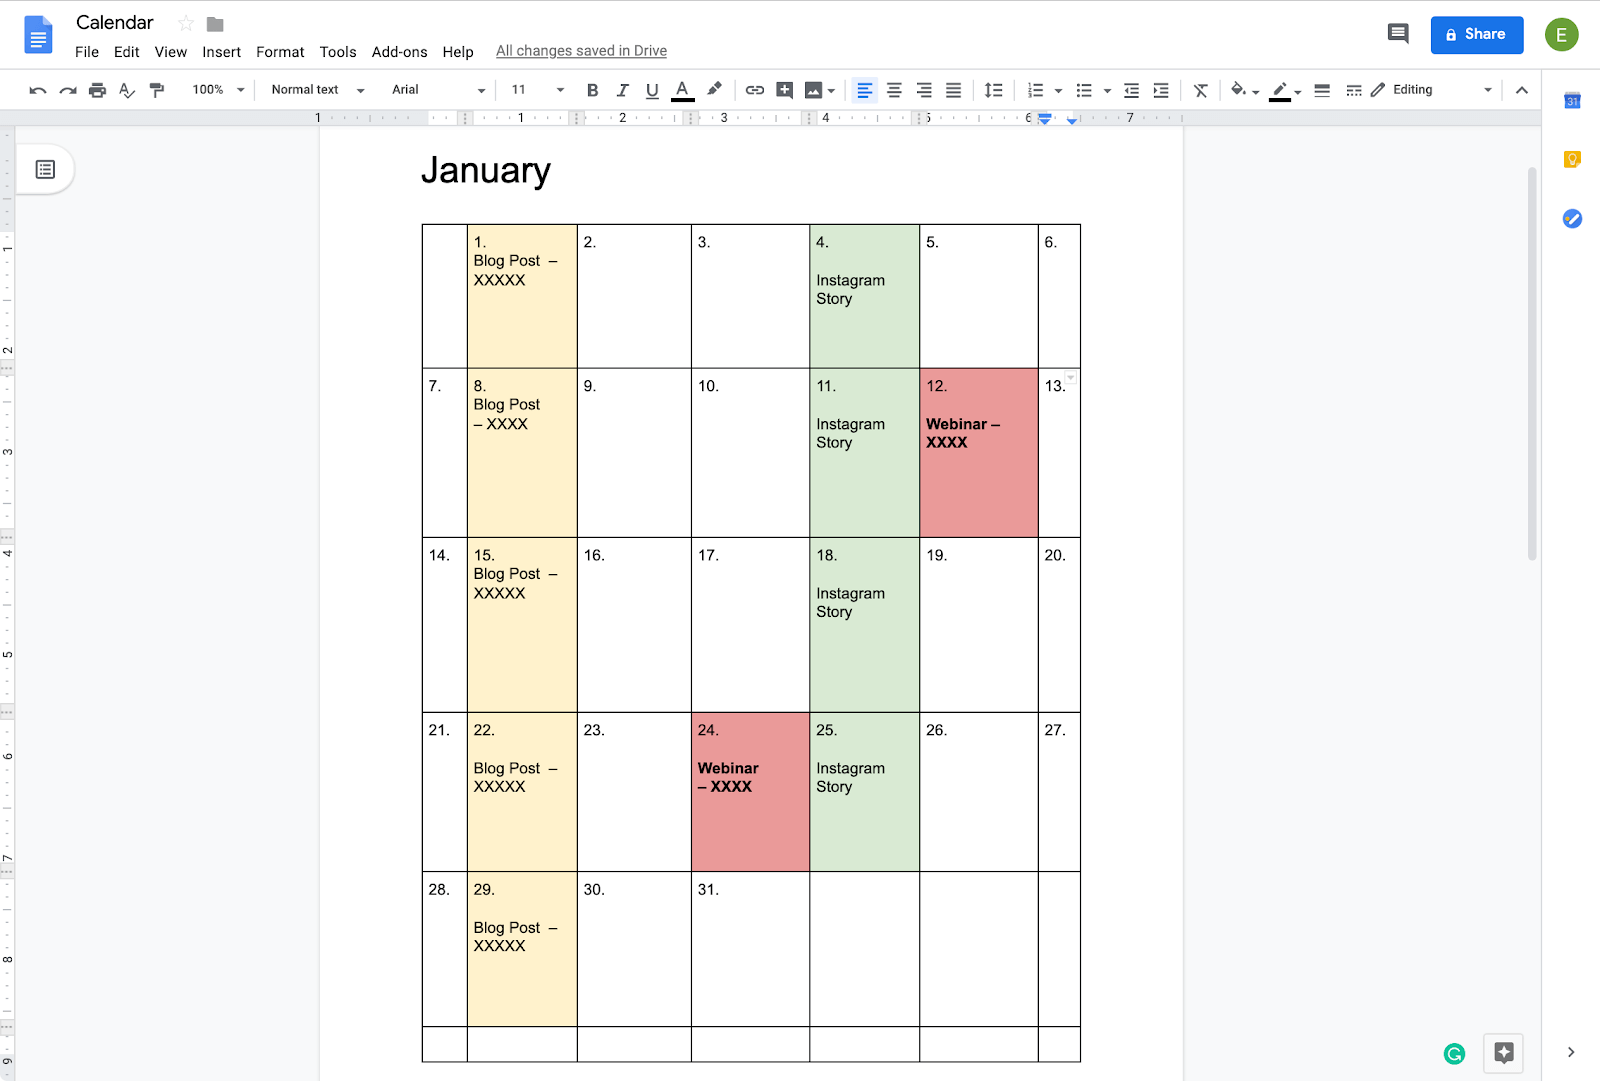
Google Docs provides a range of tools and features that make it easy to create a custom calendar template. You can add tables, images, and text to your document, and use the various formatting options to customize the layout and design. To create a basic calendar template, start by creating a table with the days of the week across the top and the dates down the side. You can then add additional details, such as holidays and important events, to the relevant dates.
Customizing Your Calendar Template
Once you have created your basic calendar template, you can customize it to suit your needs. You can add colors, fonts, and images to make your calendar more visually appealing. You can also add additional features, such as a notes section or a to-do list, to make your calendar more functional. To add a notes section, simply create a new table or text box and add it to your document. You can then use this section to add notes or comments to your calendar.
With Google Docs, you can easily share your calendar template with others, either by sending them a link or by downloading it as a PDF or Microsoft Word document. This makes it easy to collaborate with others or to use your calendar template across different devices and platforms. Overall, creating a calendar template in Google Docs is a simple and effective way to stay organized and on top of your schedule. By following these steps and customizing your template to suit your needs, you can create a calendar that works for you.