
A Step-by-Step Guide to Cutting Printable Iron On with Cricut


Preparing Your Design
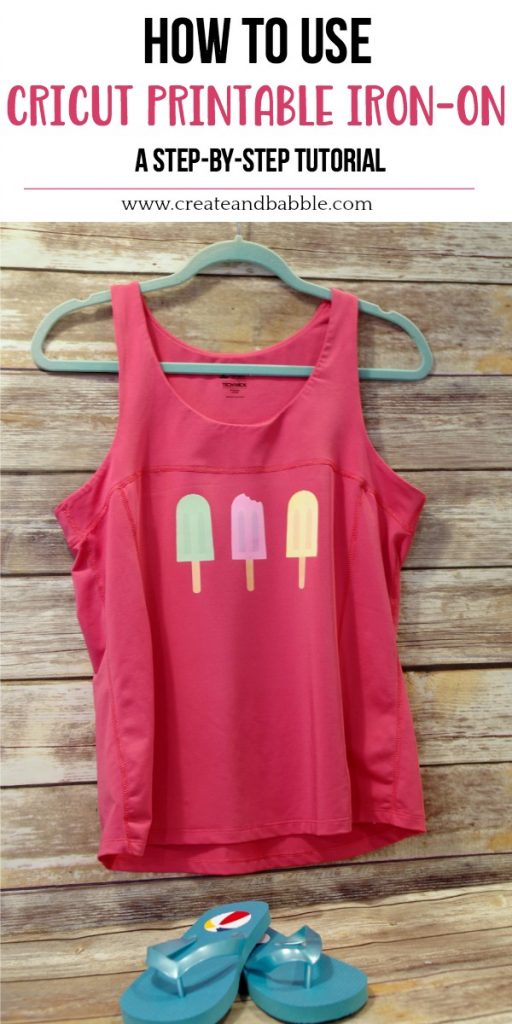
Cutting printable iron on with Cricut is a great way to add a personal touch to your clothing, accessories, and home decor. With the right tools and a little practice, you can achieve professional-looking results that will make your projects stand out. In this article, we'll take you through the steps to cut printable iron on with Cricut, from preparing your design to applying the final product.
To get started, you'll need a few basic supplies, including a Cricut machine, printable iron on vinyl, and a computer with the Cricut Design Space software. You'll also need a design or image that you want to cut out, which can be created using the Cricut software or imported from another program. Once you have your design ready, you can send it to your Cricut machine and start the cutting process.
Cutting and Weeding Your Iron On
Preparing Your Design Before you can cut your printable iron on, you need to prepare your design. This involves creating a mirror image of your design, as the iron on will be applied to the reverse side of the material. You'll also need to select the correct settings for your Cricut machine, including the material type and blade depth. The Cricut Design Space software makes it easy to adjust these settings and ensure that your design is cut out accurately.
Cutting and Weeding Your Iron On Once your design is prepared, you can start cutting your printable iron on. The Cricut machine will precision-cut your design, leaving a weedable border around the edges. After the cutting process is complete, you'll need to weed out the excess vinyl, leaving just the design. This can be a time-consuming process, but the end result is well worth the effort. With your cut and weeded iron on in hand, you can apply it to your chosen material using a heat press or iron, and enjoy the professional-looking results.