How to Make a Printable Mailing Label
Designing Your Label
Making a printable mailing label is a straightforward process that can save you time and effort when sending packages or letters. With a few simple steps, you can create and print your own professional-looking labels from the comfort of your own home. The first step is to gather the necessary information, including the recipient's name and address, as well as any relevant postage or handling instructions.
To start creating your label, you will need to choose a template or design your own layout. There are many free templates available online, or you can use a word processing or design program to create your own custom label. Be sure to include all the necessary information, such as the recipient's name and address, as well as any relevant postage or handling instructions. You can also add your own logo or branding to give your label a professional touch.
Printing Your Label
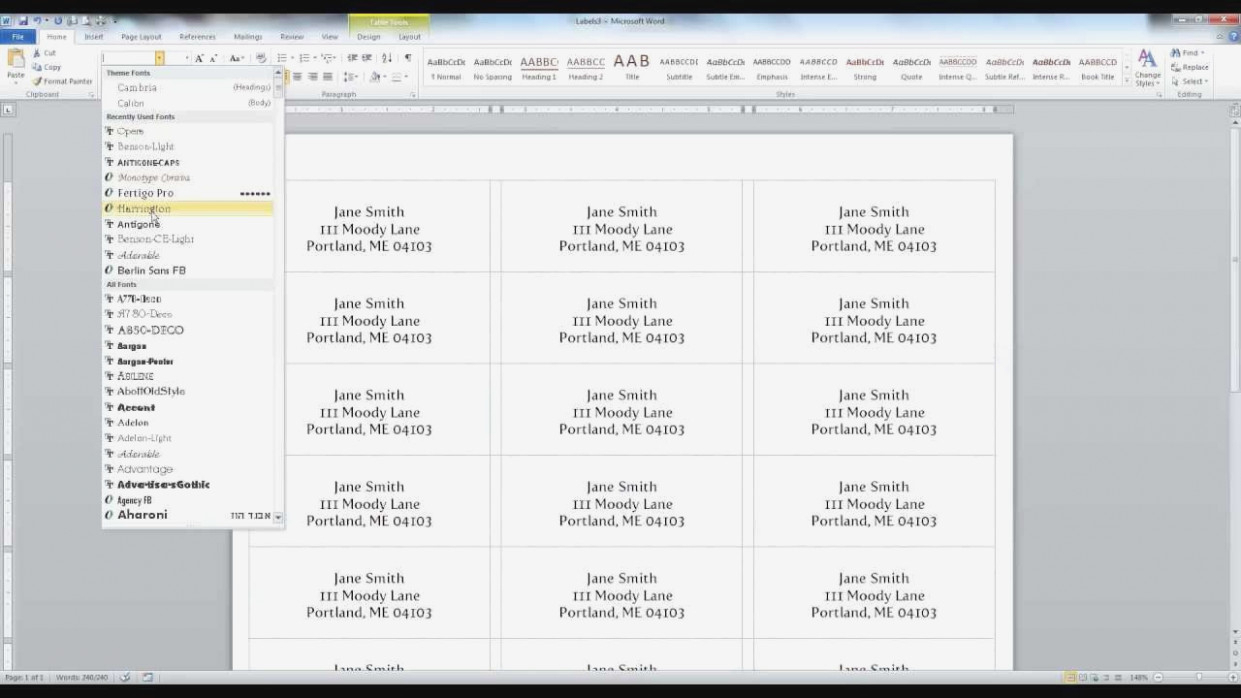
Designing Your Label When designing your label, there are a few things to keep in mind. First, make sure the font is clear and easy to read, and that the text is large enough to be visible from a distance. You should also choose a font that is compatible with your printer, to ensure that the text prints correctly. Additionally, consider the size and shape of your label, as well as the type of paper or material you will be printing on.
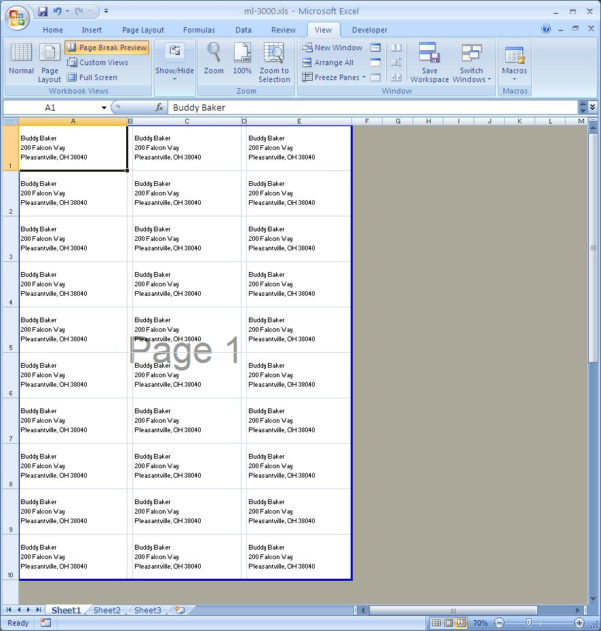
Printing Your Label Once you have designed your label, it's time to print it out. Make sure your printer is set to the correct paper size and type, and that you have enough ink or toner to print the label clearly. You can print your label on a variety of materials, including paper, cardstock, or even stickers. With your printable mailing label in hand, you can easily attach it to your package or envelope and send it on its way. By following these simple steps, you can create and print your own professional-looking mailing labels with ease.