How To Make Recipe Cards: A Step-by-Step Guide
Designing Your Recipe Card
If you're a foodie who loves trying out new recipes, you know how important it is to have a system for keeping track of your favorite dishes. One great way to do this is by creating recipe cards, which can be easily stored in a binder or on a kitchen counter for quick reference. In this article, we'll show you how to make recipe cards that are both functional and visually appealing.
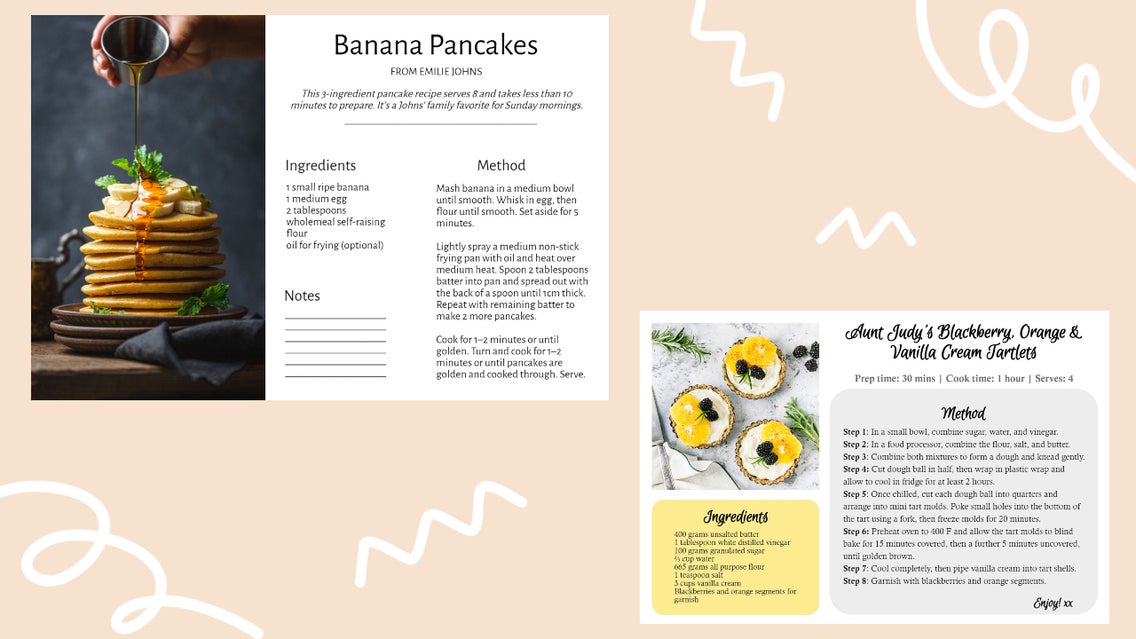
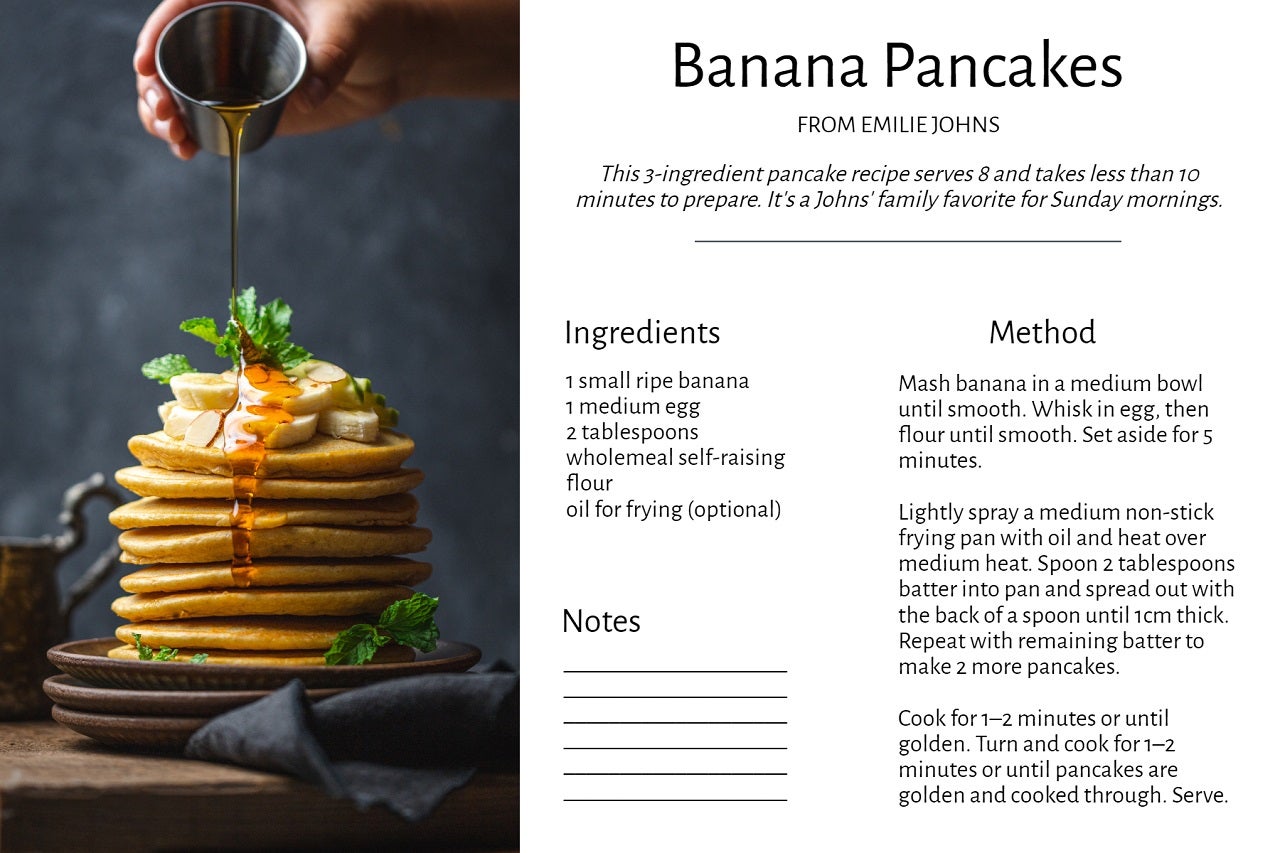
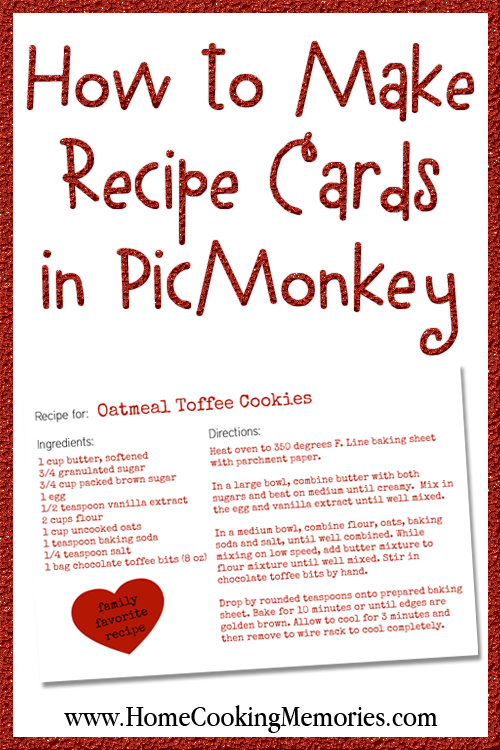
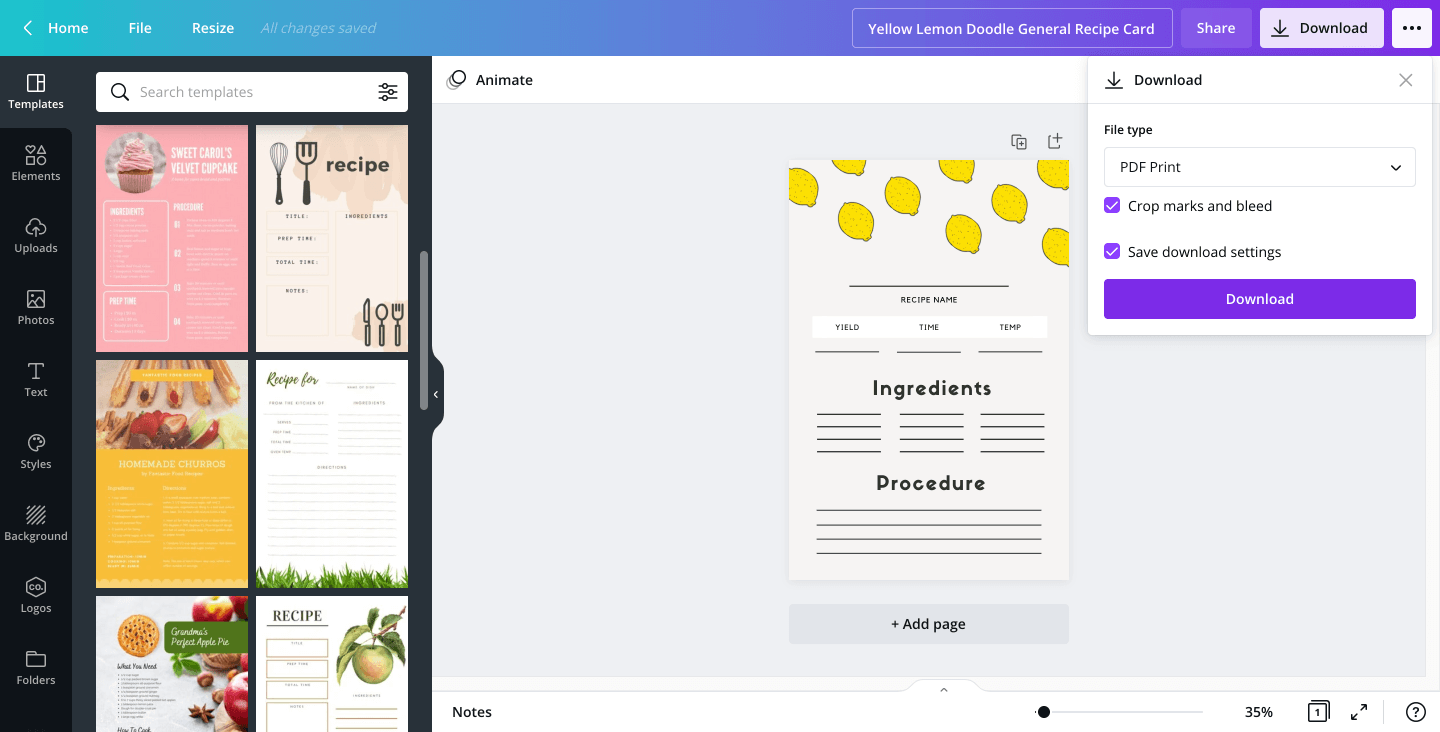
The first step in making recipe cards is to decide on the design. You can use a template or start from scratch, depending on your preference. Consider the size of the card, the font style and size, and the layout of the ingredients and instructions. You can also add images or illustrations to make the card more visually appealing.
Printing and Organizing Your Recipe Cards
When designing your recipe card, think about what information you want to include. The basics should cover the recipe name, ingredients, instructions, and serving size. You can also add nutritional information, cooking time, and tags or categories to help with organization. Consider using a consistent layout and formatting throughout your recipe cards to make them easy to read and understand.
Once you've designed your recipe cards, it's time to print them out. You can use cardstock or regular paper, depending on the durability you need. Consider laminating the cards to protect them from spills and stains. To organize your recipe cards, you can use a binder or a file box with tabs or categories. You can also create digital versions of your recipe cards and store them on your computer or mobile device for easy access.