
How to Print CD Labels: A Step-by-Step Guide

Choosing the Right Label Template
Printing CD labels can be a fun and creative way to personalize your music collection. With the right tools and a little bit of know-how, you can create professional-looking labels that will make your CDs stand out. In this article, we'll take you through the steps to print CD labels, from choosing the right template to applying the label to your CD.
The first step in printing CD labels is to choose the right template. You can find a variety of templates online, or you can create your own using a design program like Adobe Illustrator or Microsoft Word. When choosing a template, make sure it's the right size for your CD and that it has the necessary fields for the information you want to include, such as the title of the album, the artist, and the track list.
Printing and Applying the Label
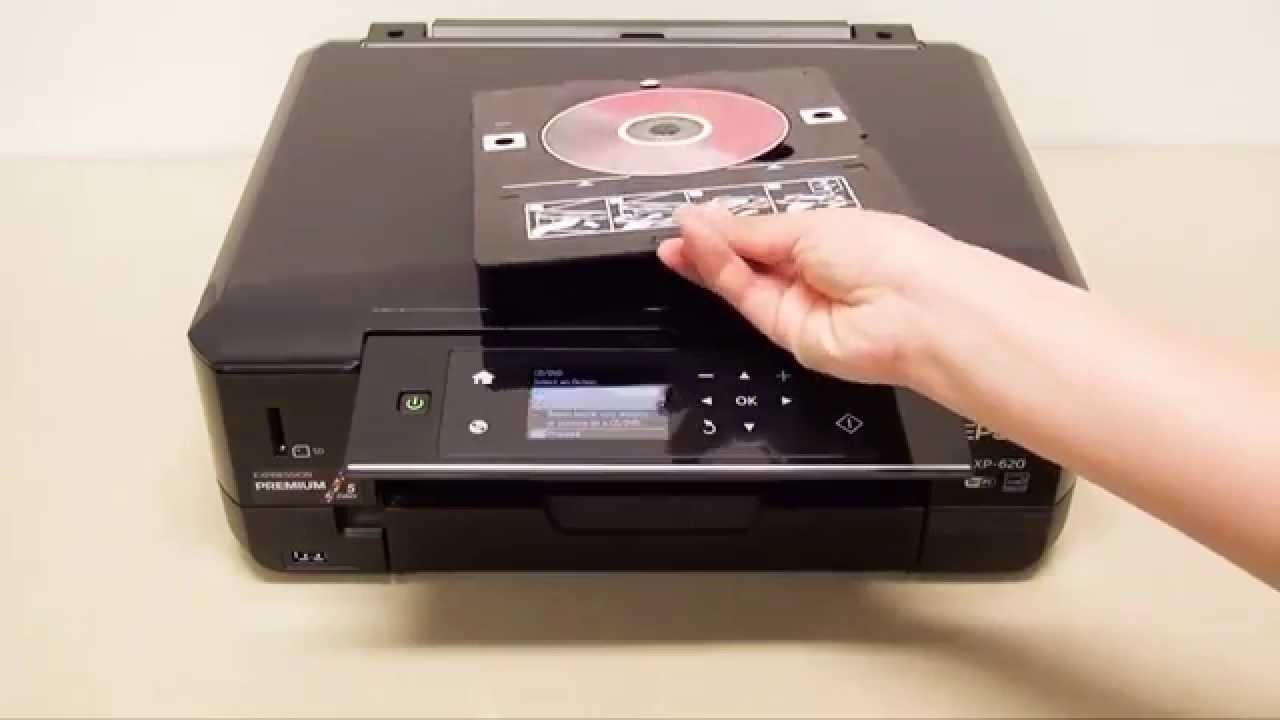
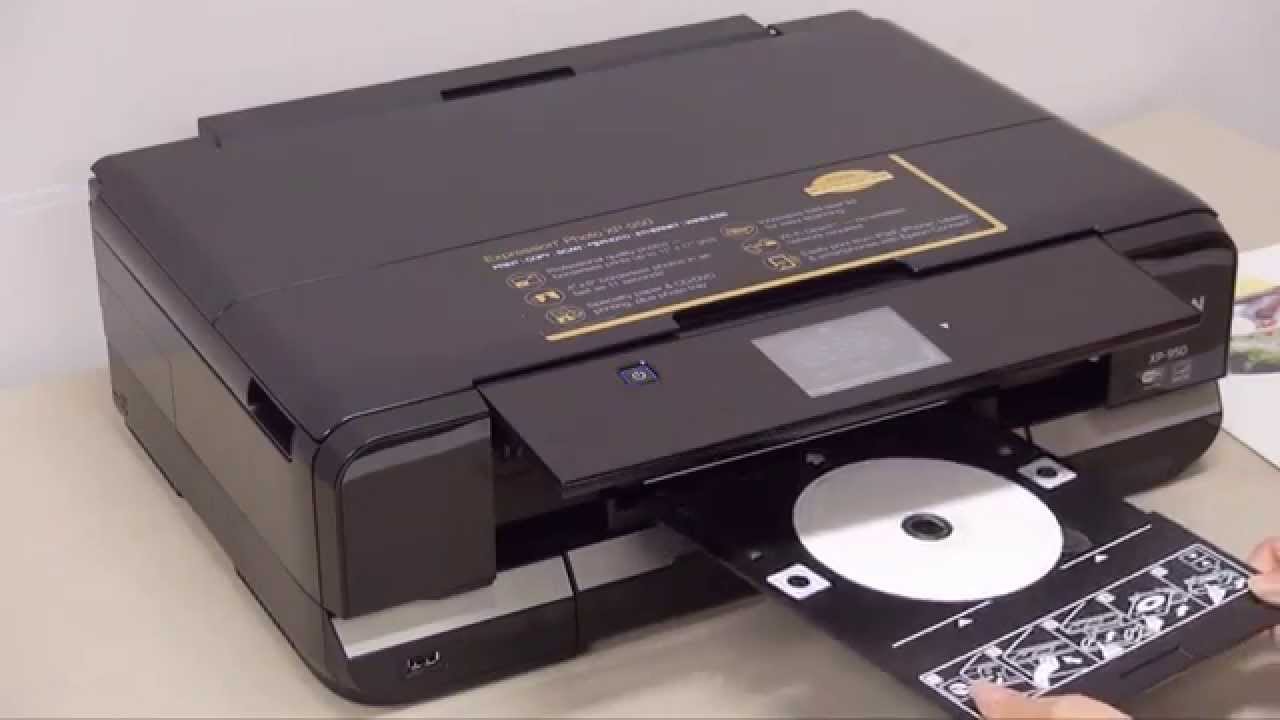
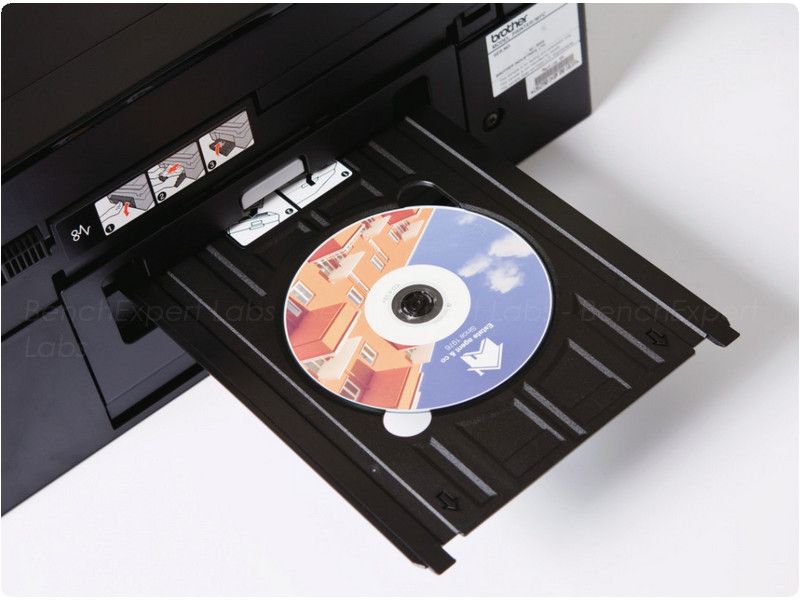
Once you have your template, you can start designing your label. You can add text, images, and other graphics to make your label look unique and eye-catching. Make sure to save your design as a PDF or JPEG file, so it's ready to print. Next, you'll need to print your label using a printer and some CD label paper. You can find CD label paper at most office supply stores or online. Simply load the paper into your printer, select the right print settings, and print out your label.
After printing your label, you can apply it to your CD. Make sure the label is centered and smooth out any air bubbles. And that's it! With these simple steps, you can create professional-looking CD labels that will make your music collection stand out. Whether you're a music enthusiast or just looking for a fun DIY project, printing CD labels is a great way to add a personal touch to your CDs.