How To Print Name Badges In Word
Creating Your Name Badge Template
Printing name badges in Word is a straightforward process that can be completed in a few simple steps. Whether you're hosting a conference, meeting, or event, name badges are a great way to help attendees identify one another. To get started, you'll need to open Microsoft Word on your computer and create a new document. From there, you can choose a template or start from scratch to design your name badge.
When designing your name badge, be sure to include all the necessary information, such as the attendee's name, title, and company. You can also add a logo or other graphics to make the badge more visually appealing. Once you have your design, you can use Word's built-in tools to format the text and adjust the layout as needed.
Printing Your Name Badges
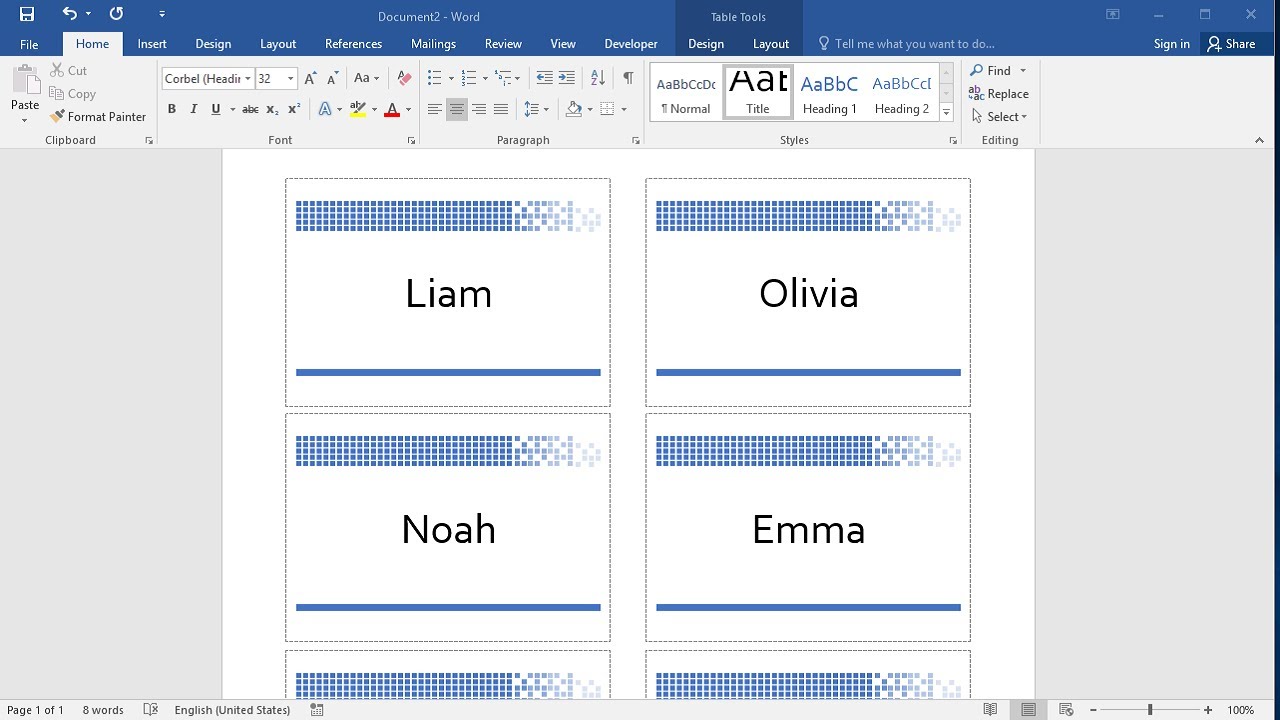
To create a name badge template in Word, start by setting the page size to the dimensions of your badge. You can then use the program's built-in shapes and text tools to design the layout. Be sure to leave enough space for the attendee's information and any other details you want to include. You can also use Word's mail merge feature to automatically populate the badges with attendee information from a spreadsheet or database.
Once you have your name badge template designed and populated with attendee information, you can print them out on cardstock or other heavy paper. Be sure to adjust the printer settings as needed to ensure the badges print clearly and correctly. With your name badges printed, you can then cut them out and attach them to lanyards or clips for attendees to wear. With these simple steps, you can create and print professional-looking name badges in Word.