How To Print Name Tags From Excel
Preparing Your Excel Spreadsheet
Printing name tags from Excel can be a convenient and efficient way to create professional-looking tags for events, conferences, and meetings. With a few simple steps, you can transform your Excel spreadsheet into a set of neatly printed name tags. In this article, we will guide you through the process of printing name tags from Excel, making it easy for you to create and print your own tags.
To start, you will need to prepare your Excel spreadsheet. This involves setting up your data in a way that is easy to print and format. Make sure your spreadsheet is organized with each name on a separate row, and that you have a column for the name and any other relevant information, such as title or company. You can also add a column for the name tag layout, if needed.
Printing Your Name Tags
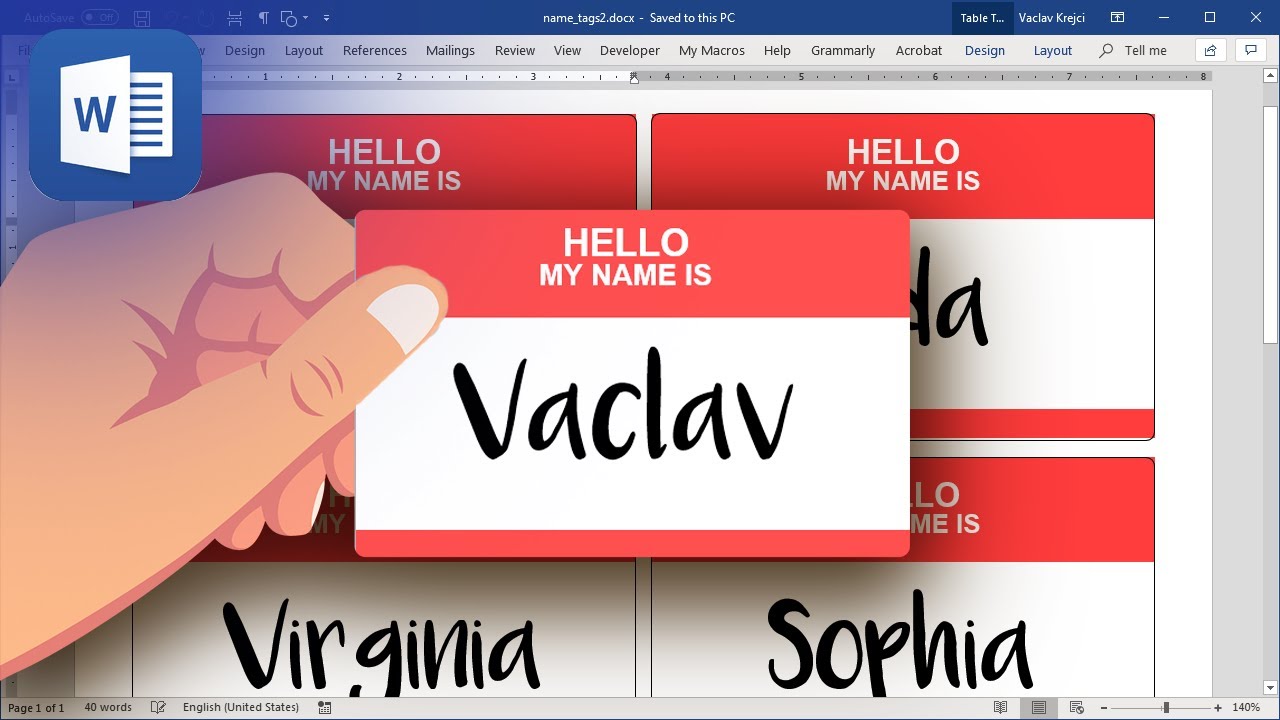
Once your spreadsheet is set up, you can move on to printing your name tags. This is where the magic happens, and your Excel data is transformed into physical name tags. To print your name tags, you will need to use a mail merge feature in Microsoft Word, or a third-party add-in that allows you to print directly from Excel. You can also use a label template in Word to make the process easier.
With your name tags printed, you can now use them for your event or meeting. Make sure to test your printer and labels before printing a large batch, to ensure that everything is working correctly. You can also customize your name tags with different colors, fonts, and layouts to match your brand or event theme. By following these simple steps, you can create professional-looking name tags from Excel, and make a great impression at your next event.