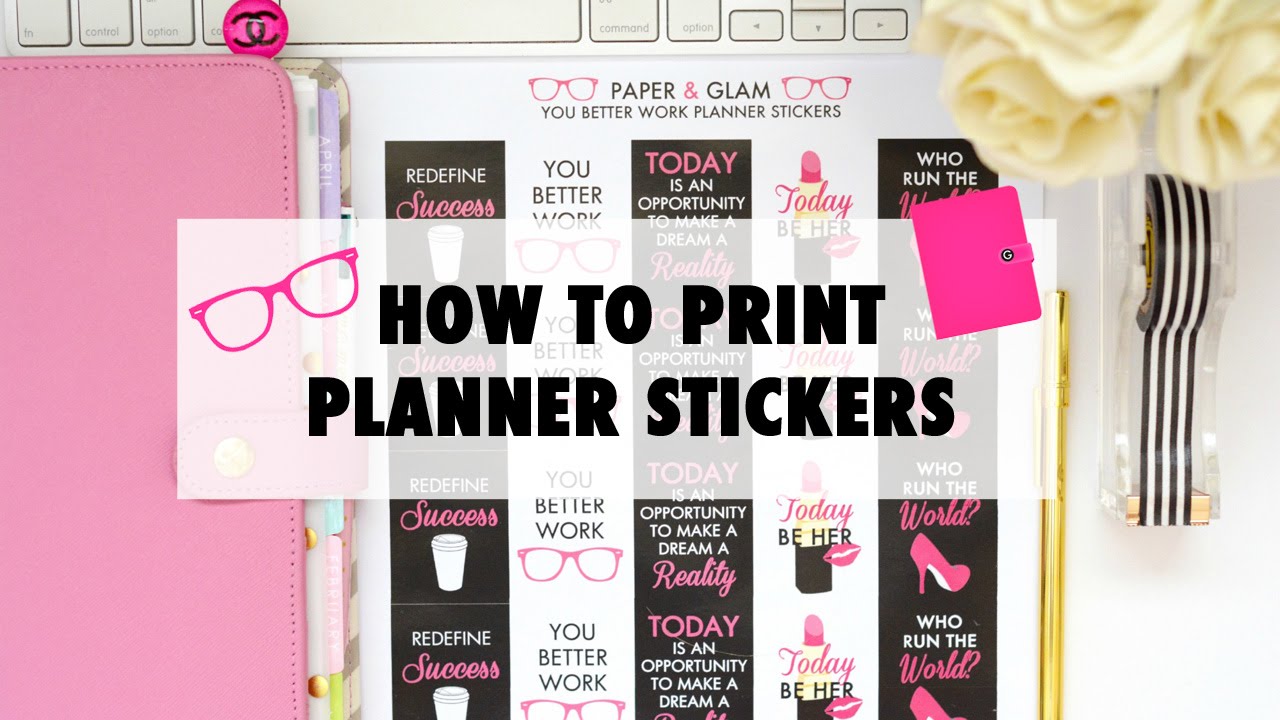
How To Print Planner Stickers
Materials Needed
Printing planner stickers can be a fun and creative way to customize your planner and make it more visually appealing. With a few simple materials and some basic knowledge of printing, you can create your own custom stickers at home. In this article, we'll walk you through the steps to print planner stickers and provide some tips and tricks to help you get started.
To get started, you'll need a few basic materials, including a printer, sticker paper, and a cutting tool. You can find sticker paper at most craft stores or online, and it comes in a variety of sizes and finishes. You'll also need a design or template for your stickers, which you can create yourself using a graphics program or find online.
Tips and Tricks
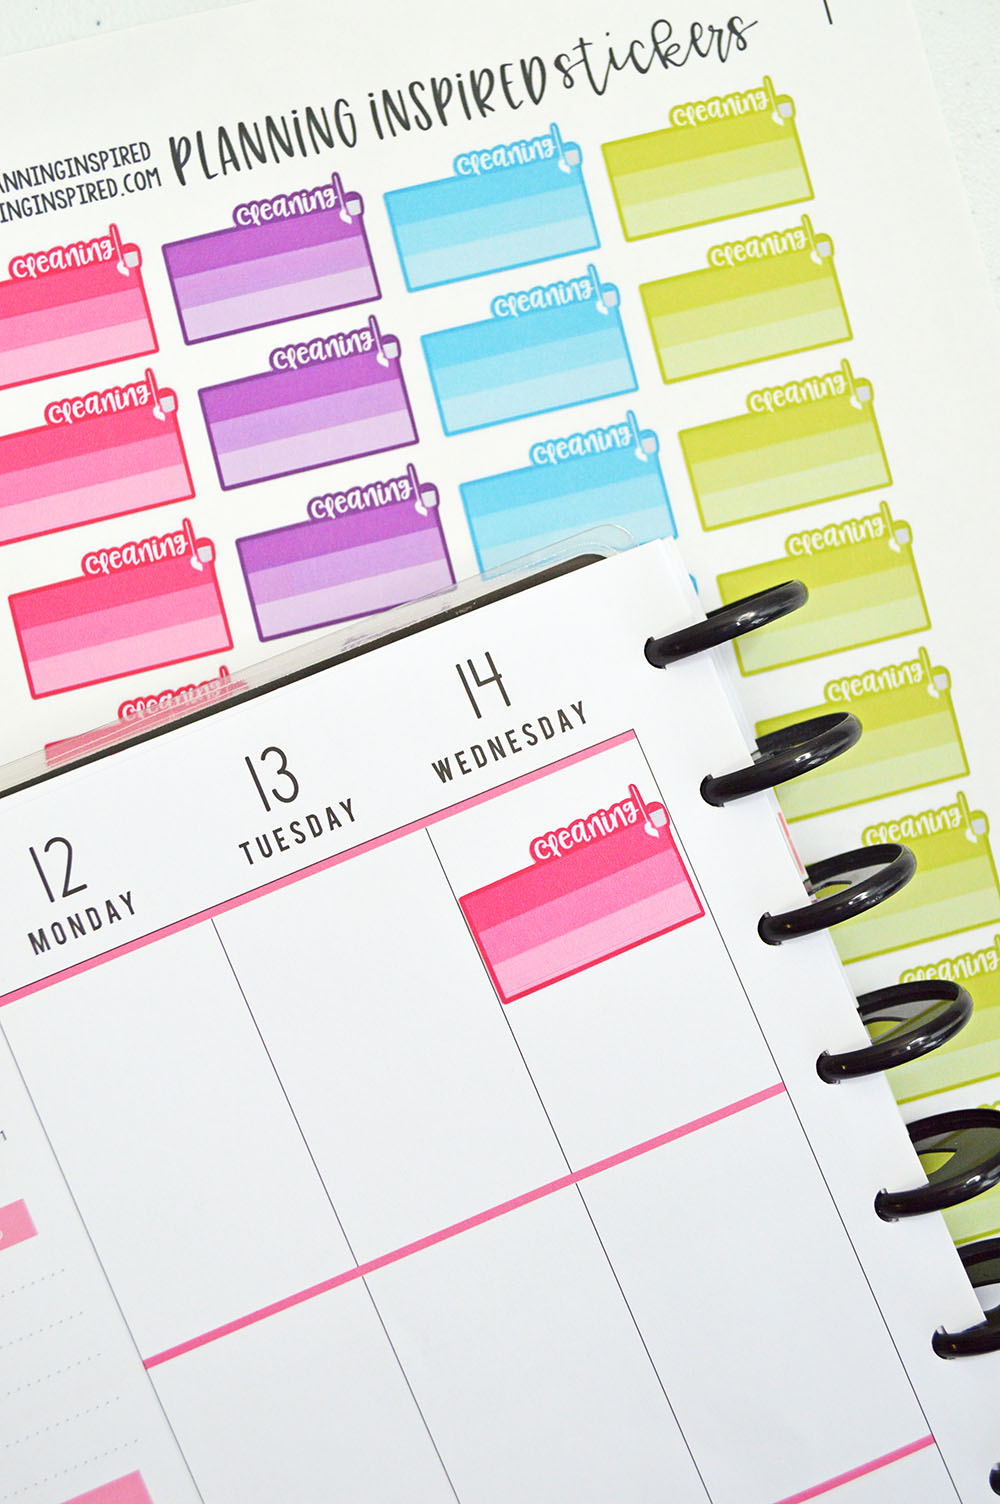
Once you have your materials, you can start printing your stickers. Simply design your sticker template, print it out on the sticker paper, and cut out the individual stickers. You can use a cutting tool like scissors or a craft knife, or try using a sticker cutter for more precise cuts. With a little practice, you can create professional-looking stickers that will add a personal touch to your planner.
One of the best things about printing your own planner stickers is that you can customize them to fit your personal style and needs. You can choose from a wide range of colors, fonts, and designs, and even add your own photos or images. With a little creativity, you can create stickers that will make your planner truly unique and functional. Whether you're a student, a busy professional, or simply someone who loves to stay organized, printing your own planner stickers is a great way to add some personality to your planner and make it more enjoyable to use.