How to Show Printable Area in Excel: A Step-by-Step Guide
Understanding the Importance of Printable Area
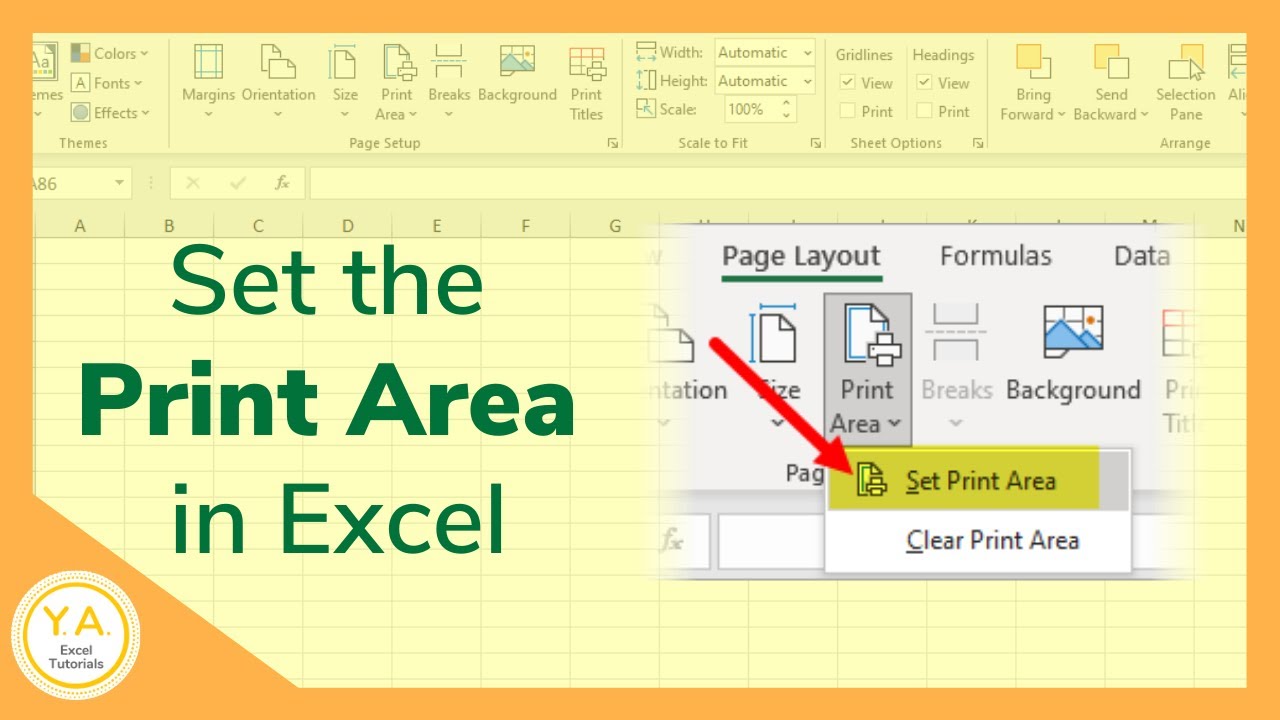
When working with Excel, it's essential to know how to show the printable area to ensure that your worksheets print correctly. The printable area in Excel refers to the range of cells that will be printed when you print a worksheet. By default, Excel prints the entire worksheet, but you can adjust the print area to include only the cells you want. In this article, we'll guide you through the process of showing the printable area in Excel.
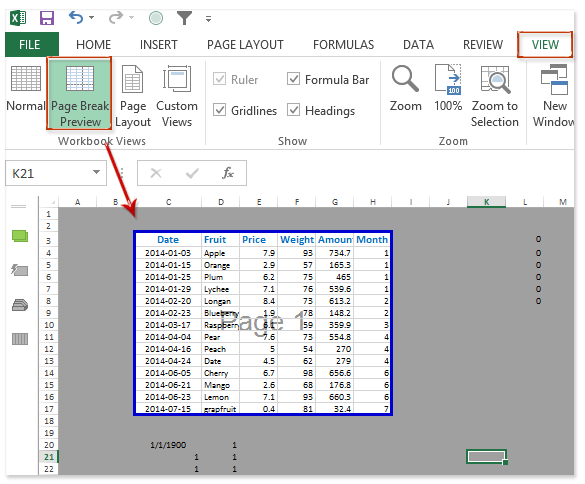
The printable area is crucial when you want to print a specific range of cells, such as a table or a chart. By setting the print area, you can avoid printing unnecessary cells and save paper. Additionally, showing the printable area helps you to visualize how your worksheet will look when printed, allowing you to make any necessary adjustments before printing.
Steps to Show Printable Area in Excel
To show the printable area in Excel, you need to follow a few simple steps. First, select the range of cells you want to print. You can do this by clicking and dragging your mouse over the cells. Next, go to the 'Page Layout' tab in the ribbon and click on the 'Print Area' button. From the drop-down menu, select 'Set Print Area'. This will set the print area to the selected range of cells. You can also use the 'Print Preview' button to see how your worksheet will look when printed.