
A Beginner's Guide to Using Printable Vinyl in Cricut


Getting Started with Printable Vinyl
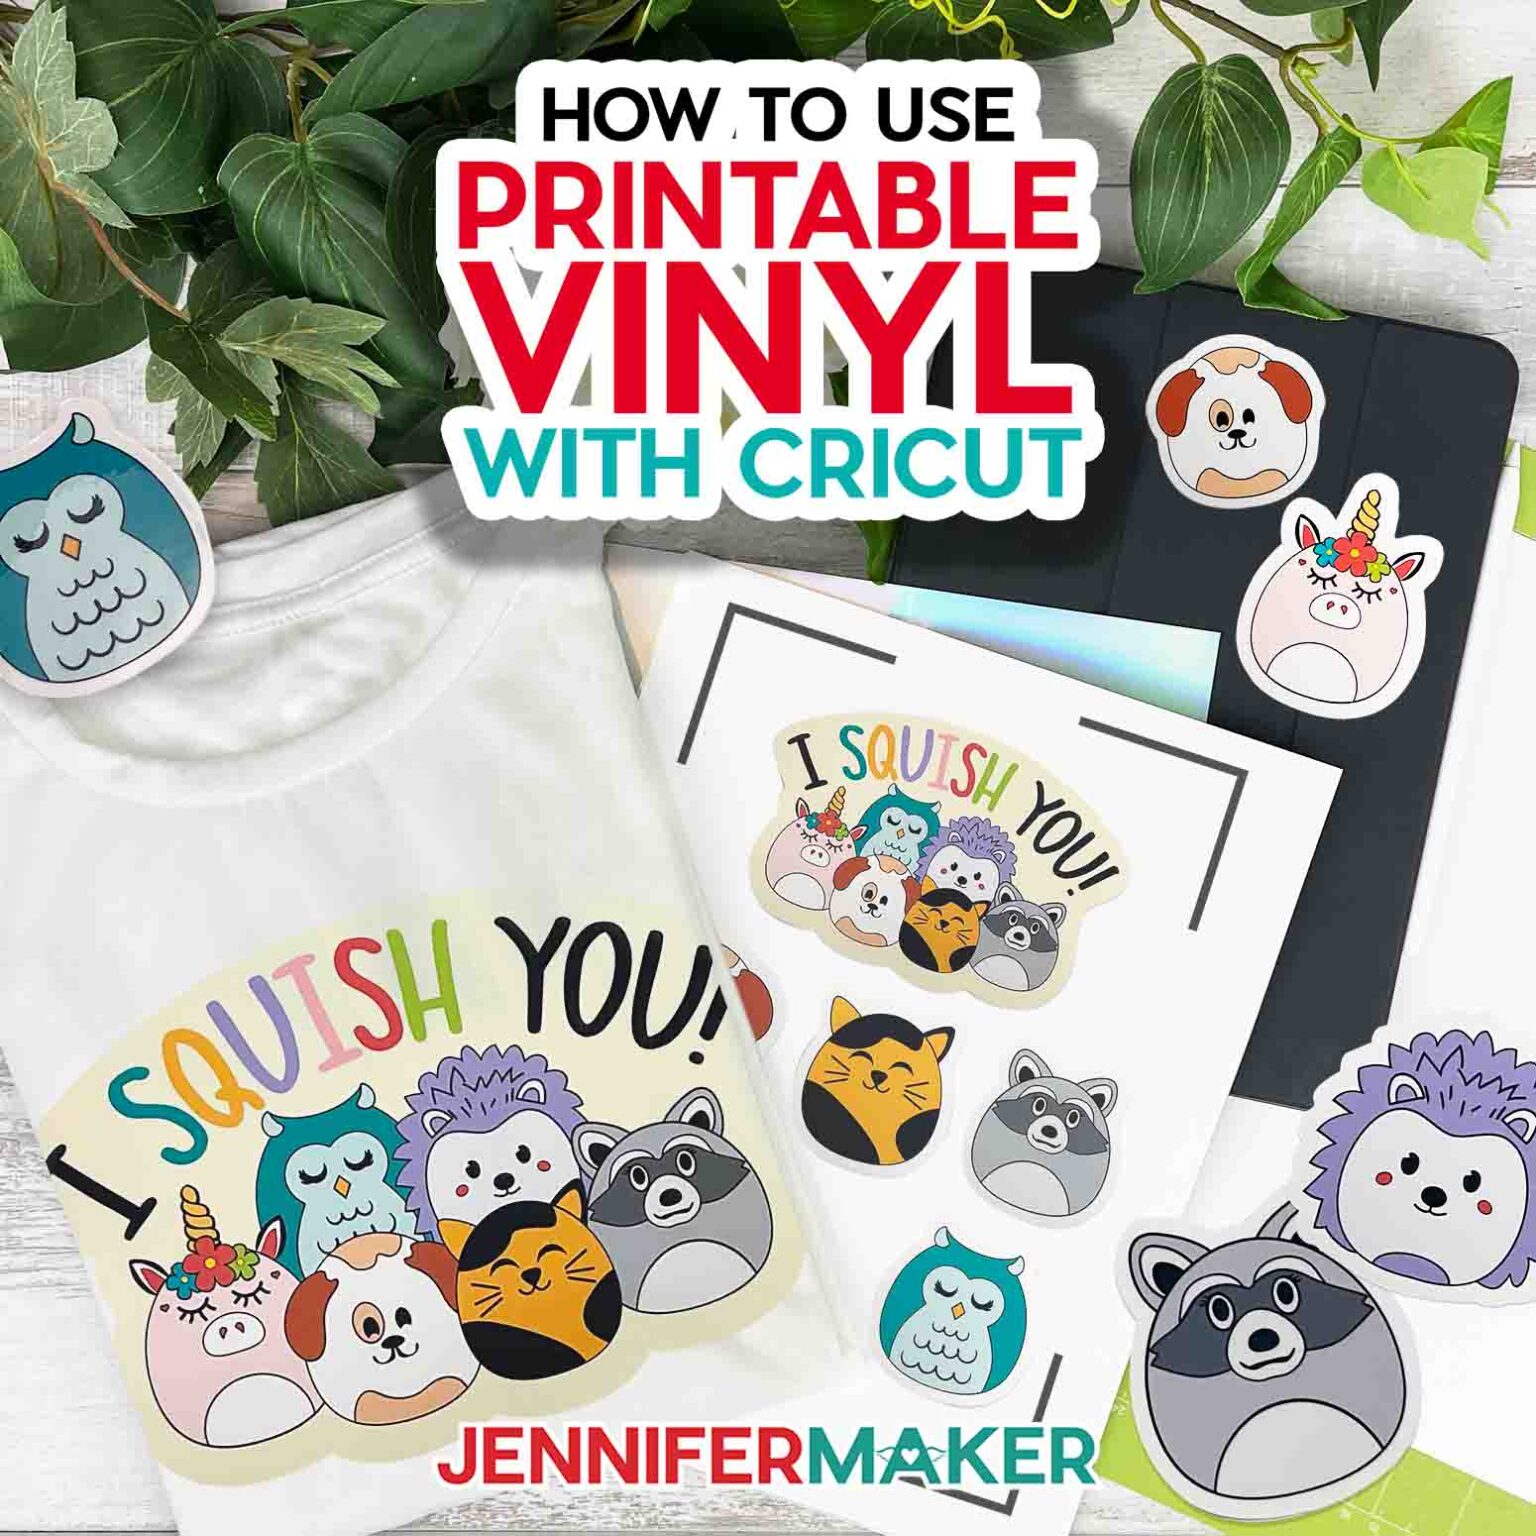
If you're a crafty person who loves working with Cricut, you're probably always on the lookout for new and exciting materials to work with. One of the most versatile and fun materials you can use with your Cricut is printable vinyl. With printable vinyl, you can create custom designs, decals, and stickers that can be used on a variety of surfaces, from water bottles and laptops to cars and walls.
To get started with printable vinyl, you'll need a few basic supplies. First, you'll need a Cricut machine, such as the Cricut Explore or Cricut Maker. You'll also need some printable vinyl, which can be found at most craft stores or online. In addition to the vinyl, you'll need a computer and the Cricut Design Space software, which allows you to design and cut your custom designs.
Tips and Tricks for Working with Printable Vinyl
Once you have all of your supplies, it's time to start designing. The Cricut Design Space software makes it easy to create custom designs and send them to your Cricut machine for cutting. Simply upload your design to the software, select the printable vinyl setting, and let the machine do the work. When the cutting is complete, you can weed out the excess vinyl and apply the design to your desired surface. Tips and Tricks for Working with Printable Vinyl
One of the best things about working with printable vinyl is the wide range of possibilities it offers. You can use it to create custom decals for your car, water bottle, or laptop, or to make stickers and labels for your home or office. With a little practice and patience, you can create stunning custom designs that will make your projects stand out. Whether you're a seasoned crafter or just starting out, printable vinyl is a great material to work with, and with these tips and tricks, you'll be well on your way to creating amazing custom designs with your Cricut.