How to Insert a Calendar in Google Docs

Why Insert a Calendar in Google Docs?
Google Docs is a powerful word processing tool that allows you to create and edit documents online. One of its useful features is the ability to insert a calendar into your document. This can be helpful for planning events, scheduling appointments, or keeping track of important dates. In this article, we will show you how to insert a calendar in Google Docs and provide you with some tips on how to use it effectively.
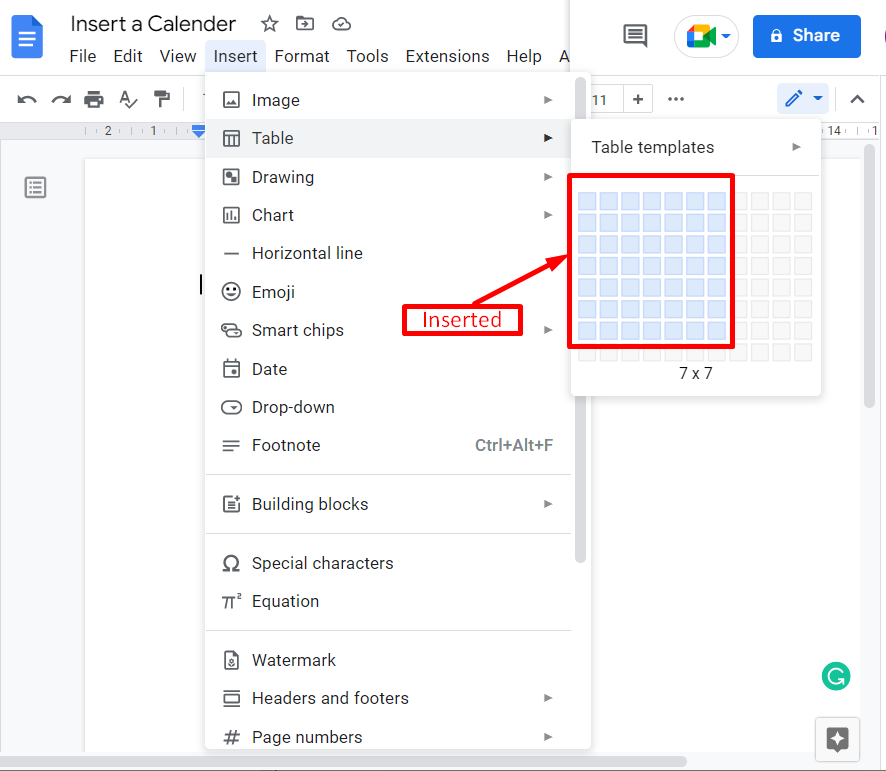
Inserting a calendar in Google Docs is a simple process that can be completed in a few steps. First, you need to open your Google Docs document and click on the 'Insert' menu. From there, you can select 'Table' and choose the number of rows and columns you want your calendar to have. You can then format your table to look like a calendar, adding headers and footers as needed.
Step-by-Step Guide to Inserting a Calendar
Why Insert a Calendar in Google Docs? Inserting a calendar in Google Docs can be useful for a variety of purposes. For example, you can use it to plan a meeting or event, schedule appointments, or keep track of important deadlines. You can also use it to create a schedule for a project or task, or to keep track of your daily or weekly tasks. By inserting a calendar in Google Docs, you can stay organized and focused, and ensure that you never miss an important date or deadline.
Step-by-Step Guide to Inserting a Calendar To insert a calendar in Google Docs, follow these steps: open your document, click on the 'Insert' menu, select 'Table', and choose the number of rows and columns you want. Format your table to look like a calendar, adding headers and footers as needed. You can then use your calendar to plan events, schedule appointments, or keep track of important dates. With these simple steps, you can create a calendar in Google Docs and start using it to stay organized and productive.