
Make Your Own Duct Tape Wallet with Printable Instructions

Getting Started with Duct Tape Wallet Instructions
If you're looking for a fun and creative DIY project, making a duct tape wallet is a great idea. Not only is it a unique and functional accessory, but it's also a great way to reuse and recycle materials. With our printable instructions, you can create your own duct tape wallet in no time. The best part is that you can customize it to fit your personal style and preferences.
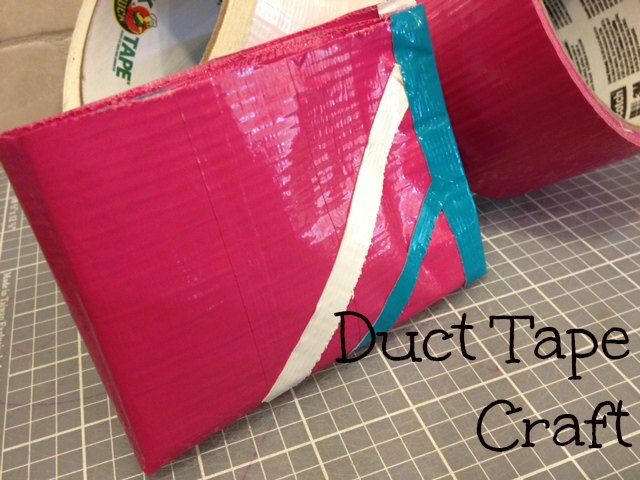
To get started, you'll need a few basic materials, including duct tape, scissors, and a ruler. You can choose from a variety of colors and patterns to create a one-of-a-kind design. Our printable instructions will guide you through the process of cutting and folding the duct tape to create the wallet's structure. With a little patience and practice, you'll have a sturdy and reliable wallet that's perfect for everyday use.
Tips and Variations for Your Duct Tape Wallet
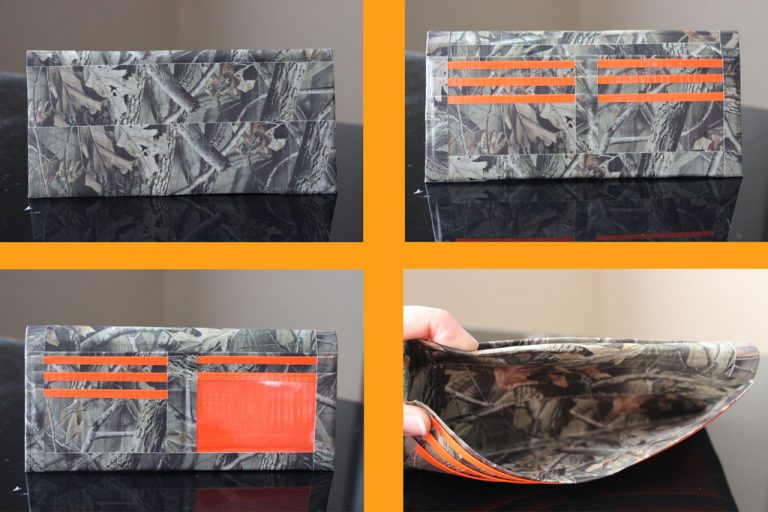
Once you have your materials ready, follow our step-by-step guide to create your duct tape wallet. Start by cutting strips of duct tape and folding them into the desired shape. You can use our printable template to help you get the right size and proportions. As you work on your wallet, make sure to apply even pressure and smooth out any wrinkles or air bubbles. This will ensure that your wallet lies flat and is easy to use.
With your basic wallet structure in place, you can start to add your own personal touches and embellishments. Consider adding a clear plastic pocket for your ID or a cash compartment for storing bills. You can also experiment with different colors and patterns to create a unique and eye-catching design. Our printable instructions include tips and variations to help you take your duct tape wallet to the next level. Whether you're making it for yourself or as a gift, a duct tape wallet is a thoughtful and practical accessory that's sure to impress.