A Step-by-Step Guide to Printable Iron On Instructions


Getting Started with Printable Iron On
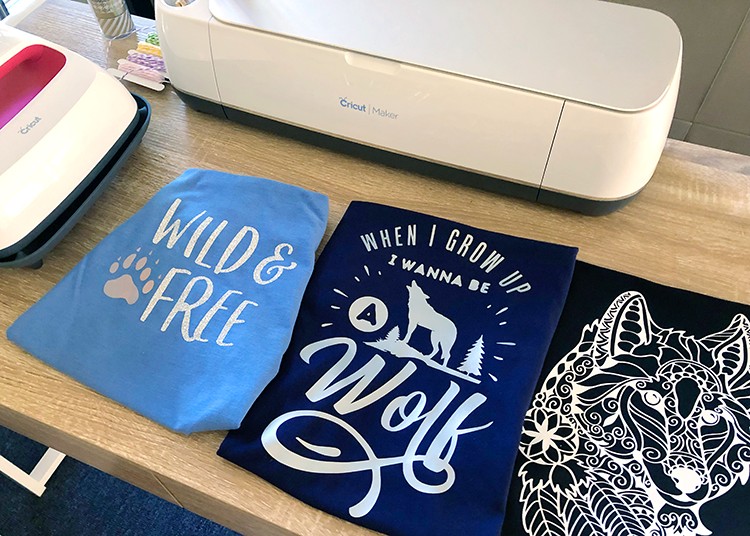
Printable iron on instructions are a great way to add a personal touch to your clothing, accessories, and home decor items. With the right materials and a little practice, you can create custom designs and transfer them onto your favorite fabrics. In this article, we'll take you through the process of using printable iron on transfers, from preparation to application.
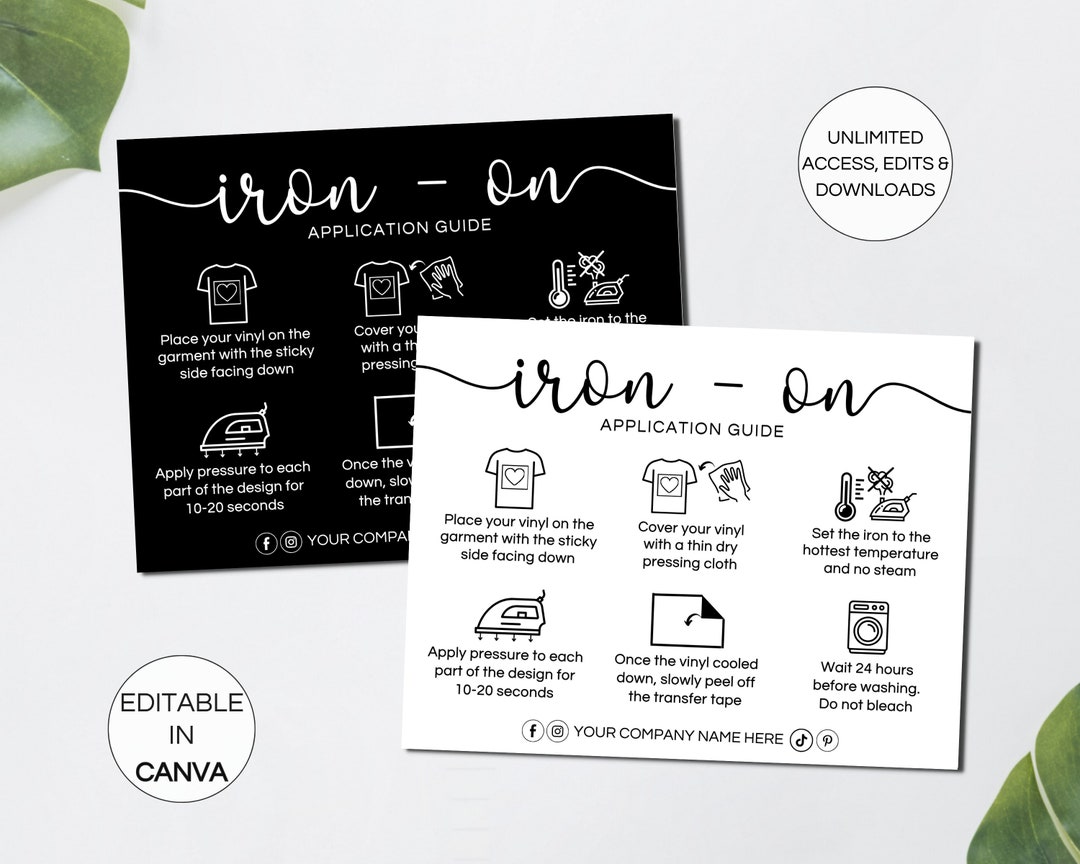
The first step in using printable iron on transfers is to prepare your design. You can use a computer and printer to create your design, or use a pre-made template. Make sure to mirror your design before printing, as the transfer will be reversed when applied to the fabric. Choose a high-quality iron on transfer paper that is compatible with your printer, and follow the manufacturer's instructions for printing.
Tips and Tricks for Perfect Results
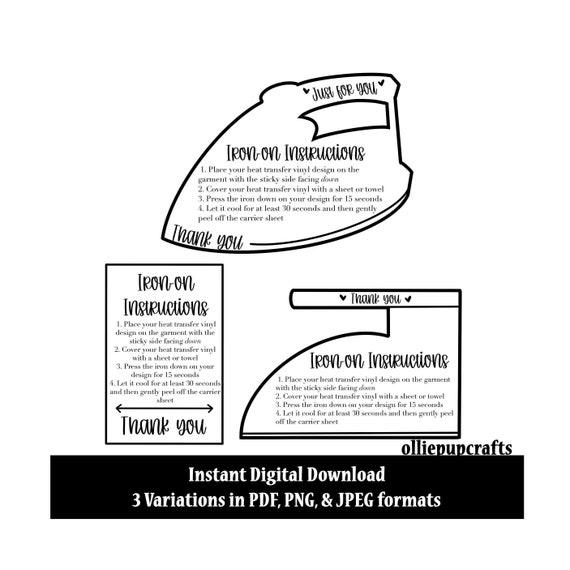
Once you have your design printed, it's time to apply it to your fabric. Preheat your iron to the recommended temperature, and place the transfer paper face down on the fabric. Apply pressure and heat for the recommended amount of time, usually 2-3 minutes. Allow the transfer to cool before peeling off the paper, and your design should be securely in place. For best results, use a hot iron and apply even pressure to ensure a smooth transfer.
To achieve perfect results with printable iron on transfers, make sure to follow the manufacturer's instructions and take your time. Use a test piece of fabric to ensure the transfer paper and iron settings are correct before applying the design to your final project. With a little practice and patience, you can create professional-looking custom designs that will last for years to come. Whether you're making gifts, decorating your home, or just expressing yourself, printable iron on instructions are a fun and easy way to get creative with fabric.