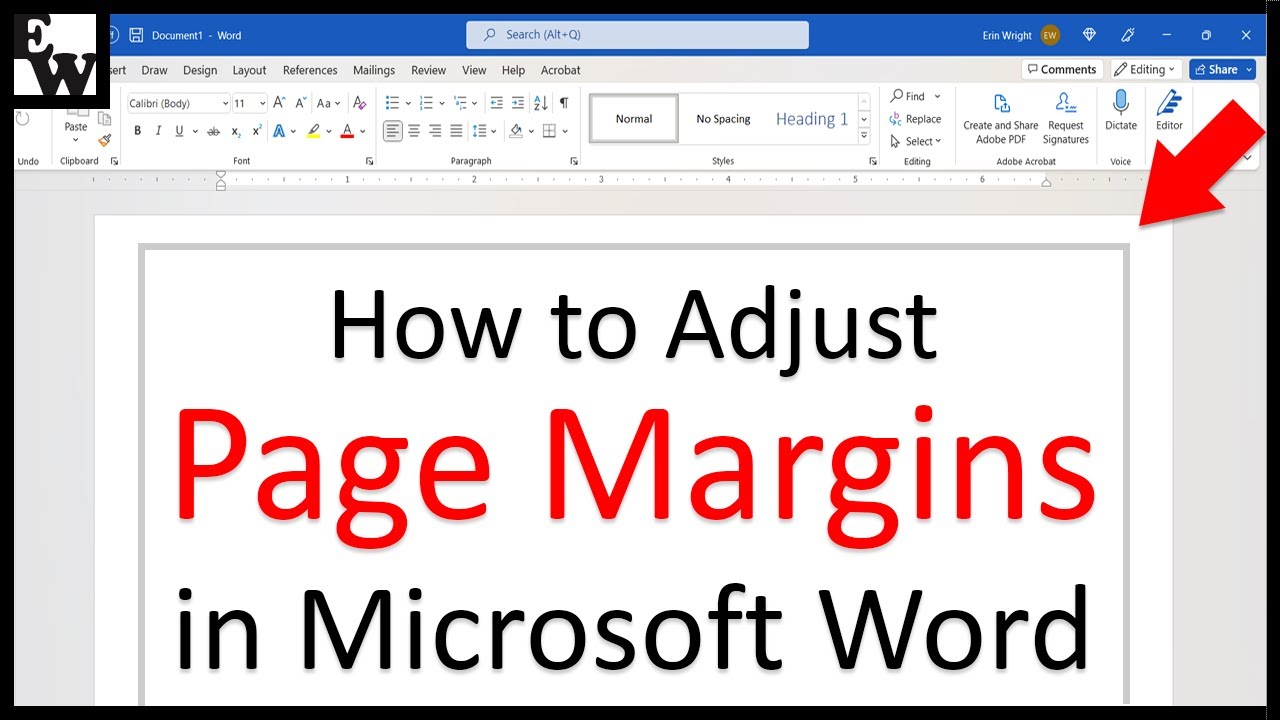
Mastering Printable Margins in Microsoft Word

Understanding Margins in Microsoft Word
When working with Microsoft Word, setting the right margins is crucial for achieving a professional look and ensuring that your documents print correctly. Printable margins refer to the space between the edge of the paper and the text or other content on the page. By default, Microsoft Word sets the margins to 1 inch on all sides, but you can easily adjust these settings to suit your needs.
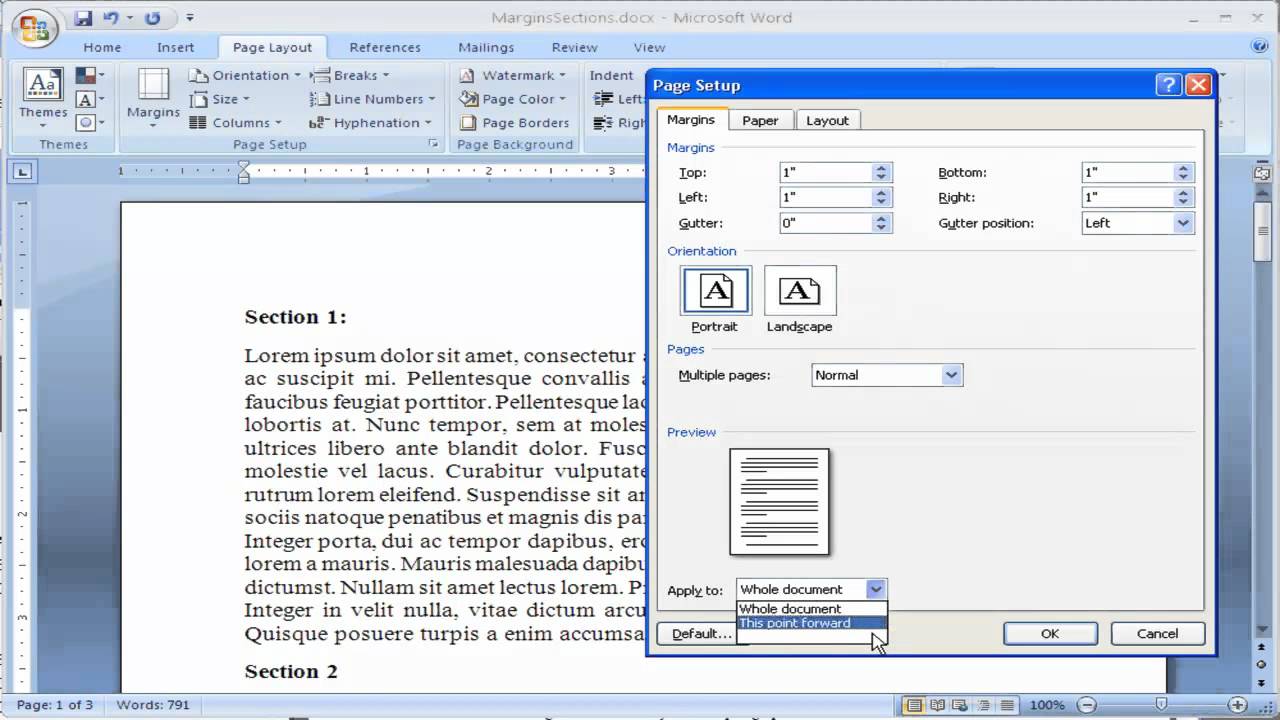
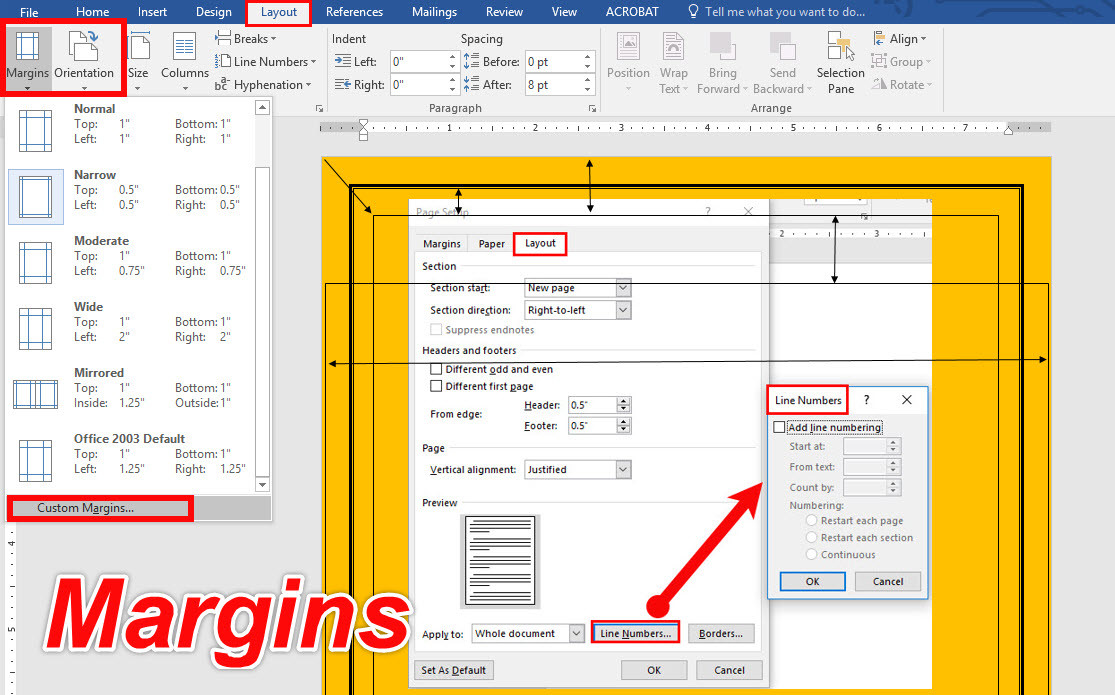
To adjust the margins in Microsoft Word, go to the Layout tab and click on the Margins button. From there, you can select from a range of pre-set margin options or choose Custom Margins to enter your own values. You can also use the Ruler tool to adjust the margins by dragging the margin markers. This level of control allows you to fine-tune your document's layout and make the most of the space on the page.
Adjusting Printable Margins for Professional Documents
In addition to adjusting the margins, you can also use Microsoft Word's built-in features to create professional-looking documents. For example, you can use the Mirror margins option to create a symmetrical layout, or the Book fold option to create a booklet-style document. By mastering the art of setting printable margins, you can take your document creation to the next level and produce high-quality prints that impress.
By following these tips and practicing with different margin settings, you can become proficient in using printable margins in Microsoft Word. Whether you're creating a resume, a report, or a marketing brochure, mastering the art of margins is essential for producing professional-looking documents that print perfectly every time. With Microsoft Word's intuitive margin-setting tools, you can achieve flawless document printing and take your document creation skills to new heights.