A Step-by-Step Guide to Printable Vinyl Directions


Getting Started with Printable Vinyl
Printable vinyl is a versatile and fun material to work with, allowing you to create custom designs, labels, and decals for a variety of applications. Whether you're a crafter, DIY enthusiast, or small business owner, printable vinyl can help you add a personal touch to your projects. In this article, we'll provide you with a step-by-step guide on how to use printable vinyl, including tips and tricks for getting the best results.
To get started with printable vinyl, you'll need a few basic supplies, including a printer, vinyl paper, and a cutting tool. You can use a desktop printer or a large format printer, depending on the size of your project. Make sure to choose a vinyl paper that is compatible with your printer and intended use. For example, if you're creating outdoor signs, you'll want to use a waterproof vinyl paper.
Troubleshooting Common Issues
Once you have your supplies, it's time to start designing your project. You can use a software program like Adobe Illustrator or Canva to create your design. Keep in mind the size and resolution of your design, as well as the color profile of your printer. When you're ready to print, make sure to follow the manufacturer's instructions for loading the vinyl paper and adjusting the print settings. After printing, allow the ink to dry completely before cutting out your design.
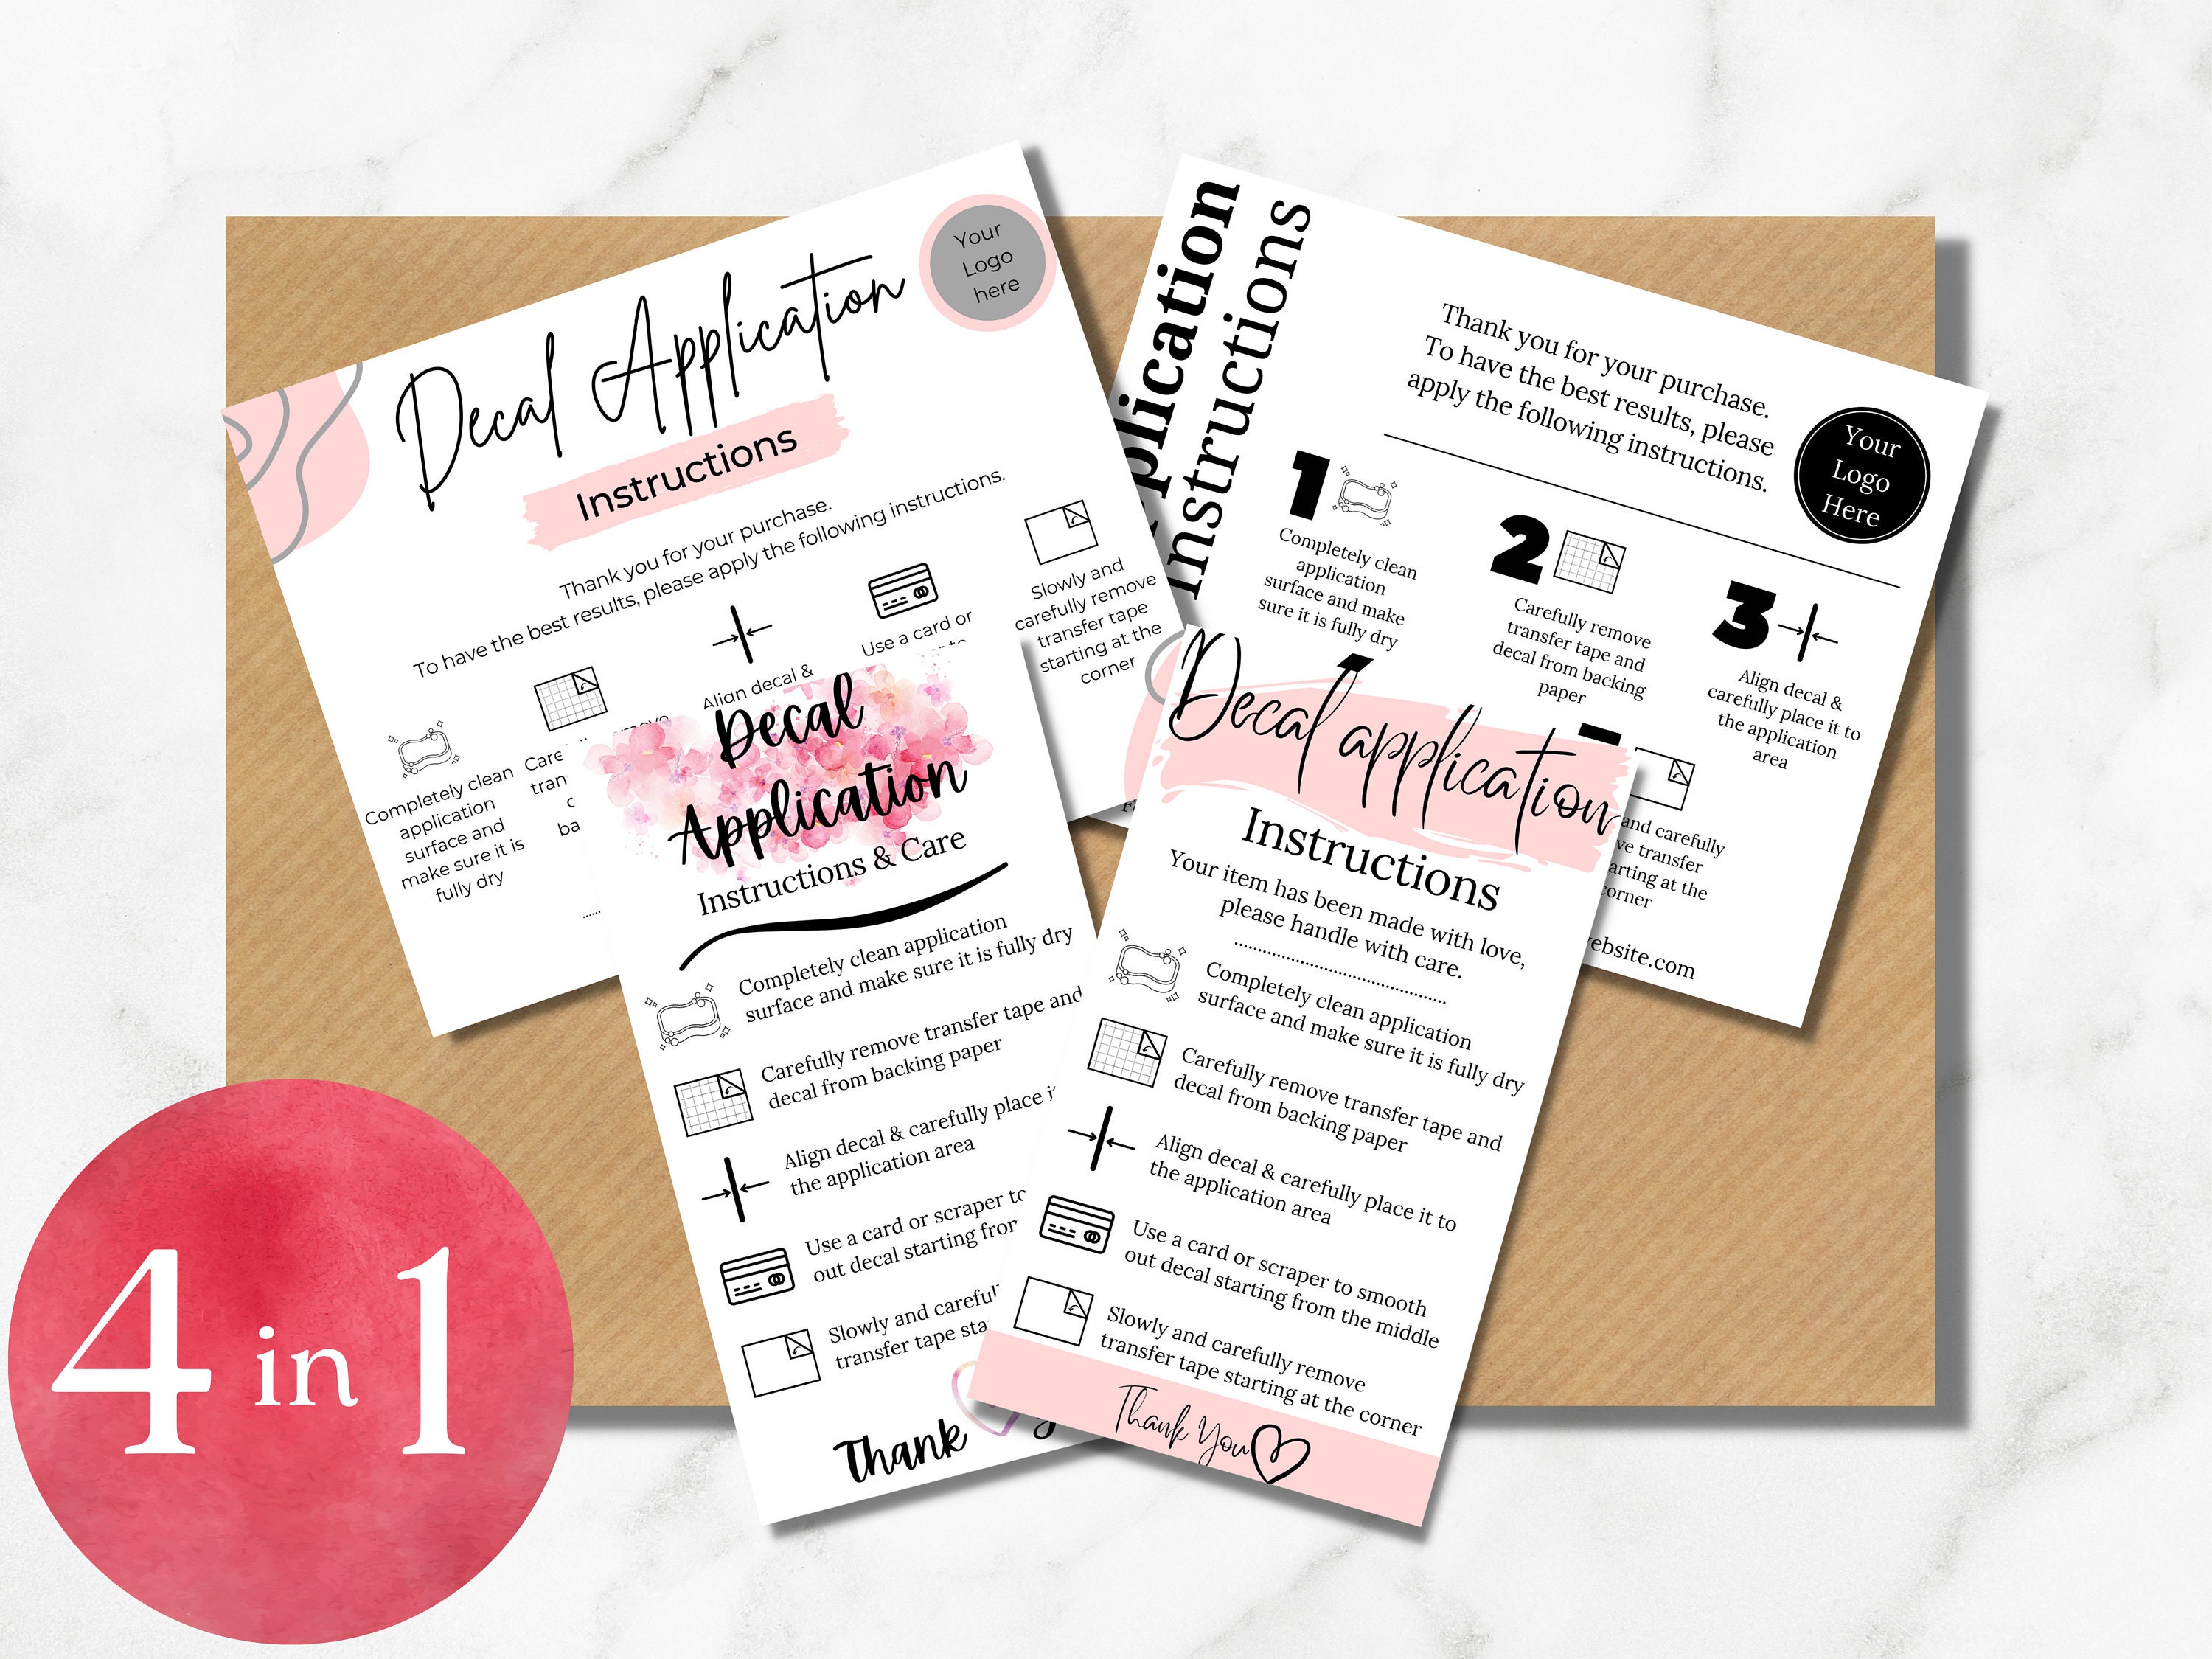
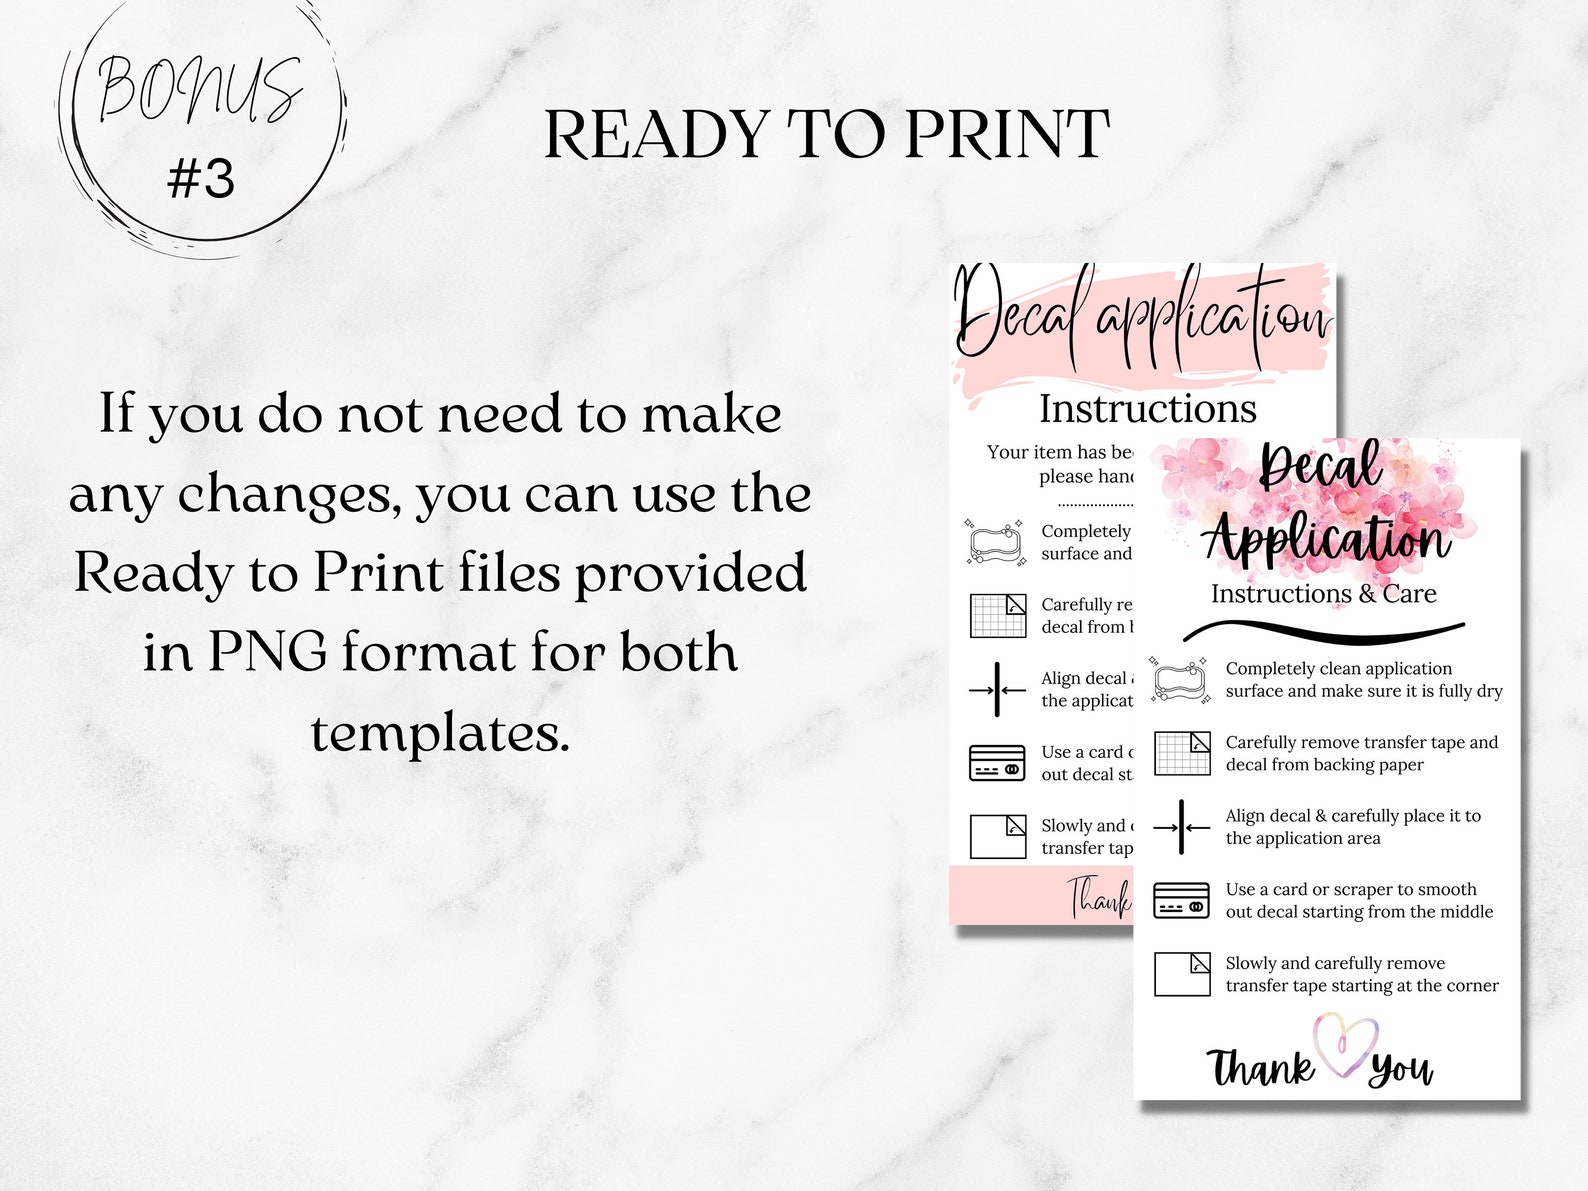
As with any crafting project, things don't always go as planned. If you encounter issues with your printable vinyl, such as bubbles, wrinkles, or fading, don't worry. There are a few common troubleshooting tips you can try. For example, if you notice bubbles forming during the application process, try using a credit card or similar tool to smooth out the vinyl. If your design is fading, check the color profile of your printer and adjust the settings accordingly. With a little practice and patience, you'll be creating professional-looking printable vinyl projects in no time.