How to Set a Print Area in Excel: A Step-by-Step Guide

Why Set a Print Area in Excel?
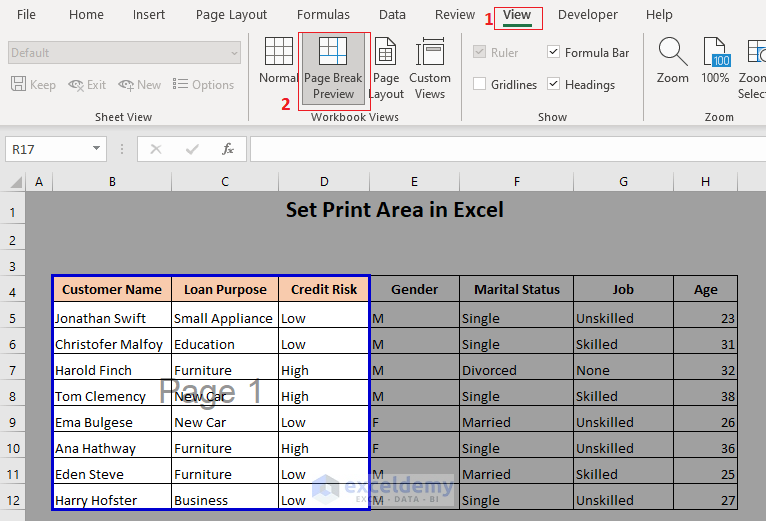
When working with large spreadsheets in Excel, it's often necessary to print only a specific portion of the data. This is where setting a print area comes in handy. By defining a print area, you can ensure that only the relevant data is printed, saving you time, paper, and ink. In this article, we'll show you how to set a print area in Excel and make your printing experience more efficient.
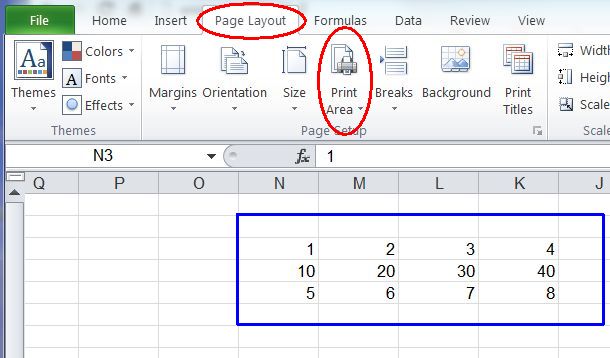
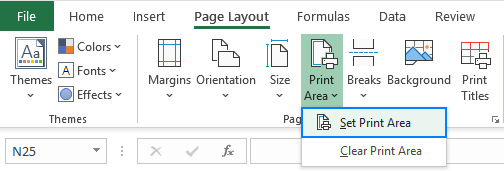
Setting a print area in Excel is a straightforward process that can be completed in just a few steps. First, select the cells that you want to include in the print area. You can do this by clicking and dragging your mouse over the desired cells. Once you've selected the cells, go to the 'Page Layout' tab in the ribbon and click on the 'Print Area' button. From there, you can choose to set the print area to the selected cells or clear the print area altogether.
How to Set a Print Area in Excel
Why Set a Print Area in Excel? Setting a print area in Excel is useful for a number of reasons. For one, it allows you to print only the data that's relevant to your needs, which can help reduce waste and save resources. It also gives you more control over the printing process, allowing you to customize the output to your specifications. Additionally, setting a print area can help you avoid printing unnecessary data, such as blank cells or irrelevant information.
How to Set a Print Area in Excel To set a print area in Excel, follow these simple steps: select the cells you want to print, go to the 'Page Layout' tab, and click on the 'Print Area' button. From there, you can choose to set the print area to the selected cells or clear the print area altogether. By following these steps, you can easily set a print area in Excel and start printing only the data you need. With this guide, you'll be well on your way to becoming an Excel printing expert!