How to Show Printable Area in Excel

Setting the Printable Area
When working with large spreadsheets in Excel, it can be difficult to print only the data you need. Luckily, Excel provides a feature to show the printable area, making it easier to print your worksheets. The printable area is the range of cells that will be printed when you print your worksheet. By default, Excel will print all the cells in your worksheet, but you can set the printable area to include only the cells you want to print.
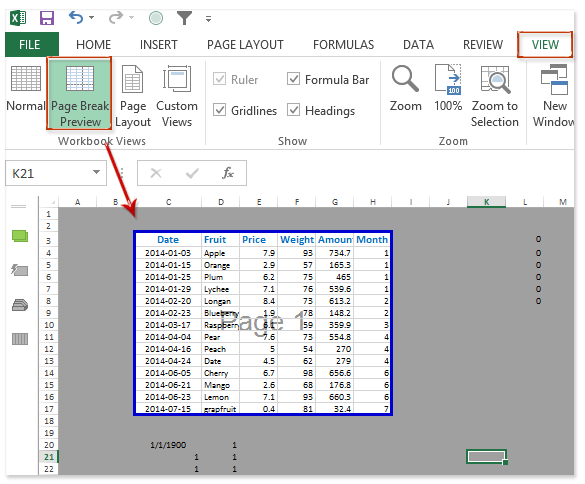
To show the printable area in Excel, you can use the 'Page Break Preview' feature. This feature allows you to see the page breaks and the printable area of your worksheet. To access this feature, go to the 'View' tab in the ribbon and click on 'Page Break Preview'. This will display the page breaks and the printable area of your worksheet, making it easier to adjust the print settings.
Tips for Printing in Excel
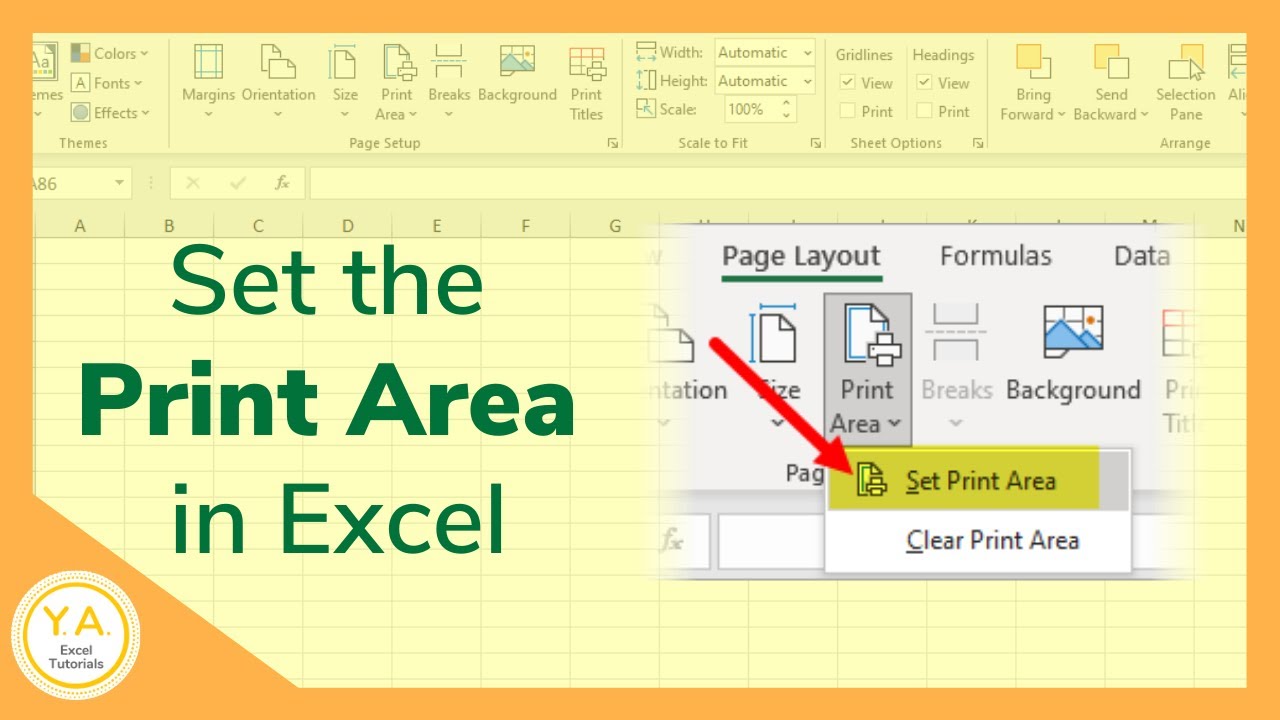
To set the printable area, select the range of cells you want to print and go to the 'Page Layout' tab in the ribbon. Click on 'Print Area' and then 'Set Print Area'. This will set the printable area to the selected range of cells. You can also use the 'Print Preview' feature to see how your worksheet will look when printed. This feature allows you to see the layout of your worksheet and make any necessary adjustments before printing.
In addition to setting the printable area, there are several other tips to keep in mind when printing in Excel. Make sure to check the page orientation and margins to ensure that your printout looks the way you want it to. You can also use the 'Scaling' feature to adjust the size of your printout. By following these tips and using the 'Page Break Preview' feature, you can easily show the printable area in Excel and make printing easier.