
A Beginner's Guide to Using Cricut Printable Iron On

Getting Started with Cricut Printable Iron On
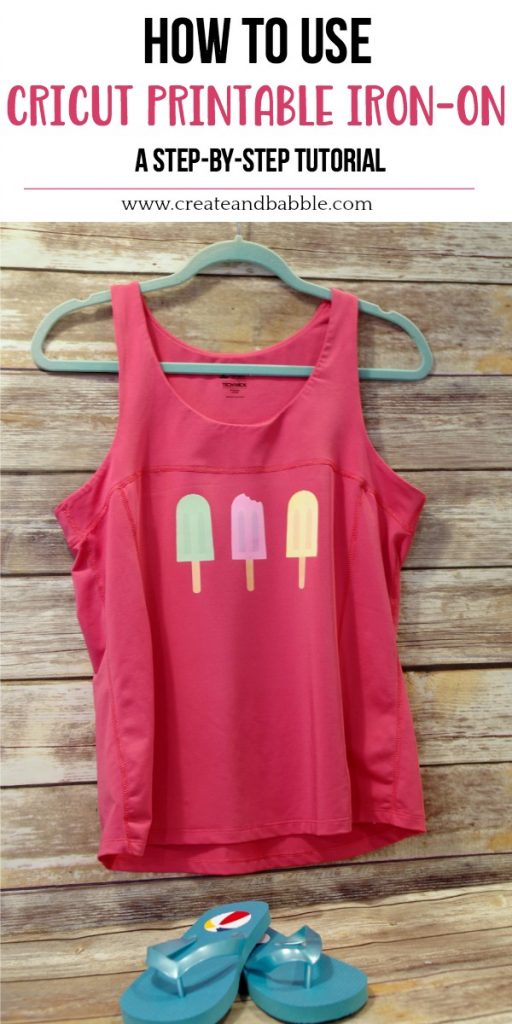
If you're new to the world of Cricut crafting, you might be wondering how to use Cricut printable iron on. This versatile material allows you to create custom designs and apply them to a variety of fabrics, from t-shirts to tote bags. With the right tools and a bit of practice, you can achieve professional-looking results and take your DIY projects to the next level.
To get started with Cricut printable iron on, you'll need a few basic supplies. These include a Cricut machine, a cutting mat, and a weeding tool. You'll also need to choose the right iron on material for your project, taking into account the type of fabric you're working with and the desired finish. Once you have your materials, simply design your project in the Cricut software, cut out your design, and weed away any excess material.
Tips and Tricks for a Successful Iron On Project
With your design cut and weeded, it's time to apply it to your fabric. This is where the iron on comes in. Simply place your design on the fabric, cover it with a sheet of parchment paper, and apply heat and pressure using a household iron or a heat press. The iron on material will melt and bond with the fabric, creating a durable and long-lasting design.
To ensure a successful iron on project, there are a few tips and tricks to keep in mind. First, make sure to mirror your design before cutting it out, as this will ensure that it appears the right way around on your finished project. You should also pre-wash and dry your fabric before applying the iron on, to remove any finishes that might affect the adhesive. With a bit of practice and patience, you'll be creating stunning iron on projects in no time!