A Beginner's Guide to Using Printable Iron On Vinyl


Getting Started with Printable Iron On Vinyl
Printable iron on vinyl is a versatile and fun material to work with, allowing you to create custom designs and apply them to a variety of fabrics. Whether you're a DIY crafter or a small business owner, printable iron on vinyl is a great way to add a personal touch to your projects. In this article, we'll show you how to use printable iron on vinyl and provide you with some tips and tricks to get the best results.
To get started with printable iron on vinyl, you'll need a few basic supplies. These include a printer, a cutting machine, and a heat press or iron. You'll also need to choose the right type of vinyl for your project, as there are several different types available. Make sure to read the instructions carefully and follow the manufacturer's guidelines for the best results.
Tips and Tricks for Applying Iron On Vinyl
Once you have your supplies, it's time to start designing. You can use a software program like Adobe Illustrator or Canva to create your design, or you can use a pre-made template. Make sure to mirror your design before printing, as the vinyl will be applied to the fabric in reverse. After printing, use a cutting machine to cut out your design and weed away any excess vinyl.
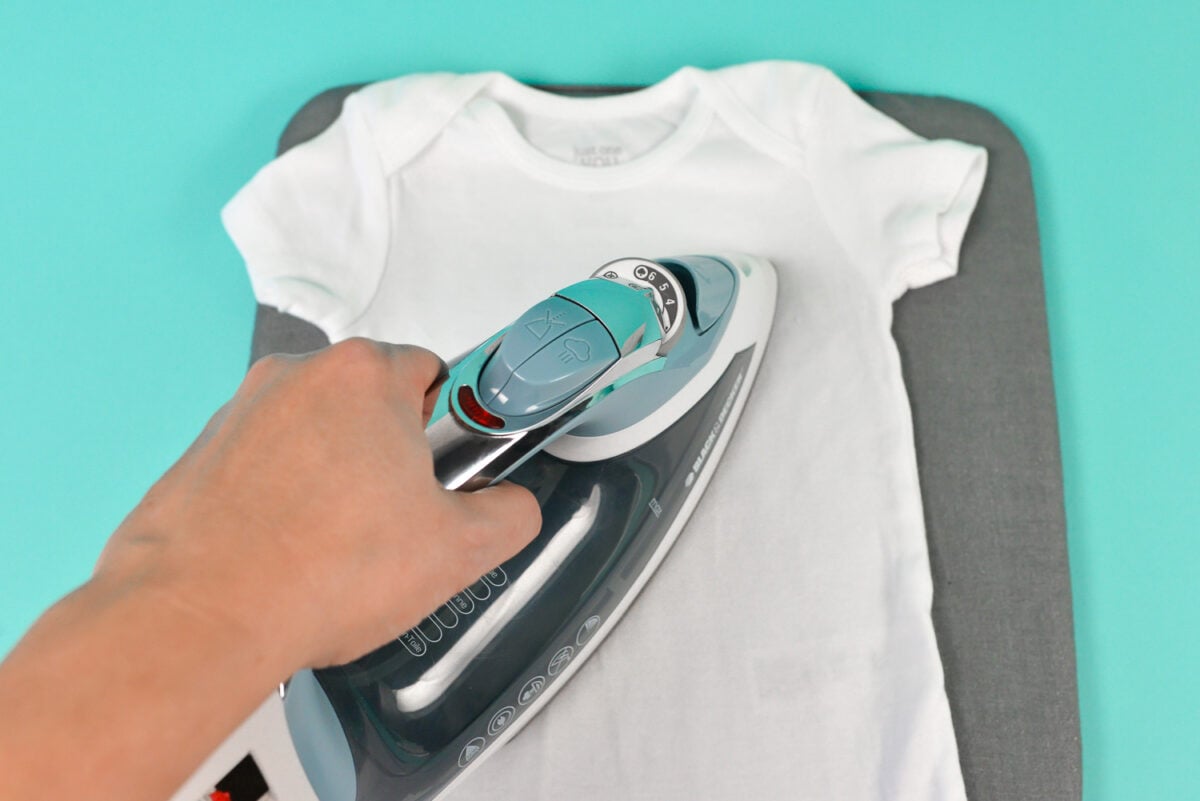
Applying iron on vinyl can be a bit tricky, but with a few tips and tricks, you can achieve professional-looking results. Make sure to preheat your fabric before applying the vinyl, and use a heat press or iron to apply even pressure. You can also use a sheet of parchment paper or a Teflon sheet to protect your fabric and prevent the vinyl from sticking to it. With practice and patience, you'll be creating custom designs like a pro in no time.