
A Beginner's Guide to Weeding Printable Vinyl
Understanding the Weeding Process
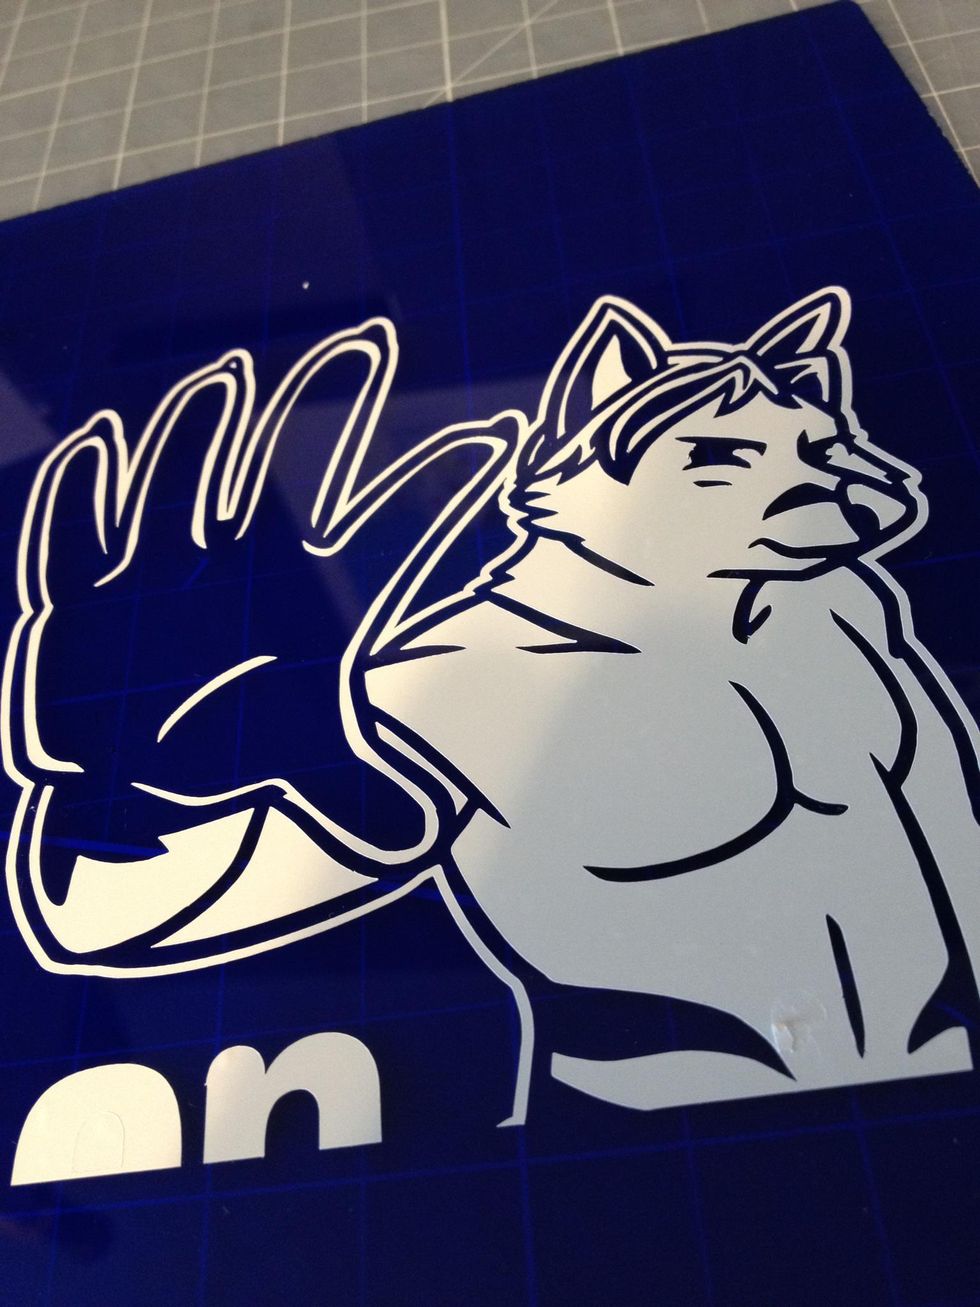
Weeding printable vinyl can seem like a daunting task, especially for beginners. However, with the right techniques and tools, it can be a breeze. Weeding is an essential step in the vinyl printing process, as it involves removing excess vinyl from the design, leaving only the desired image or text. In this article, we will explore the basics of weeding printable vinyl and provide tips and tricks for a successful weeding process.
The weeding process typically begins after the vinyl has been cut and printed. The excess vinyl, also known as the 'waste,' needs to be carefully removed from the design. This can be done using a variety of tools, including weeding tweezers, a weeding pick, or even a credit card. The key is to be patient and gentle, as the vinyl can be delicate and prone to tearing.
Tips for Successful Weeding
Understanding the Weeding Process Before starting the weeding process, it's essential to understand the different types of weeding techniques. There are two main methods: dry weeding and wet weeding. Dry weeding involves removing the excess vinyl without the use of any liquids, while wet weeding involves applying a small amount of water or weeding fluid to the vinyl to make it easier to remove. Each method has its own advantages and disadvantages, and the choice of technique will depend on the specific vinyl and design.
Tips for Successful Weeding To ensure a successful weeding process, there are several tips to keep in mind. First, make sure the vinyl is at room temperature, as this will make it easier to work with. Second, use the right tools for the job, as weeding tweezers or a weeding pick can make the process much easier. Finally, be patient and take your time, as weeding can be a time-consuming process. With practice and experience, you'll become a pro at weeding printable vinyl in no time.